BF’s Nintendo Cake

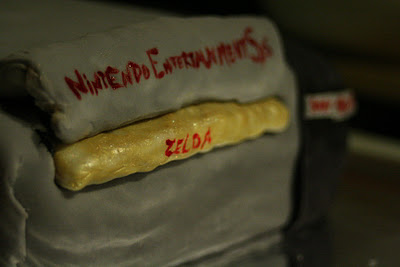
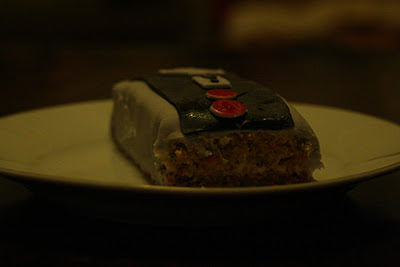
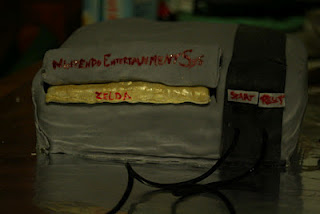
So, Nov 20th was BF’s 27th birthday.  Not a significant birthday really – it’s not a milestone or anything, but this year is a special one for him.  He’s accomplished a lot and this past year has taught him how to be stronger and patient with all aspects of his life so I wanted to celebrate it.  As a gift he got (or rather is getting because it’s still not here) the 25th anniversary edition of Zelda: Skyward Sword, so I decided his birthday cake should be Nintendo-themed.  I started to plan this cake in March;  It’s a classic Nintendo Entertainment System, for those not in the know, and it has his favorite Zelda game in the cartridge slot, The Legend of Zelda, which is also the first Zelda game.

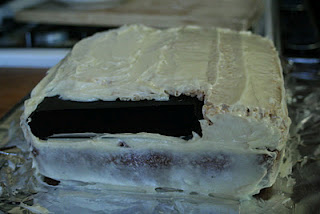
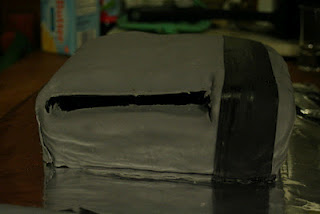
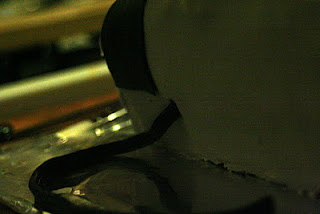
I made the cake of Brown-Butter Rice Krispie Treats and a family carrot cake recipe that I always make him.  I purchased the fondant; its just the Wilton brand because I wasn’t sure how to make it and didn’t want to mess up BF’s birthday cake for my first test.  But now that I have worked with fondant, (a first!) I will probably do it again, and may even try making it myself, maybe with marshmallows next time.  We’ll see.  Below is my photo step-by-step of the whole process from start to finish.

From start to finish creating this cake was a lot of fun, but next time I think I’ll try to make it on a day other than BF’s actual birthday.  It was a lot of work and took a fair amount of time because I just wasn’t prepared for how hard it was going to be to work with the fondant and keep the cake a surprise.  Also, banning BF from the kitchen for his entire birthday was kind of mean; he wasn’t able to come in and get snacks or anything.  Thankfully two of his best friends were visiting, so they played Settlers of Catan while I finalized cake sculpture.

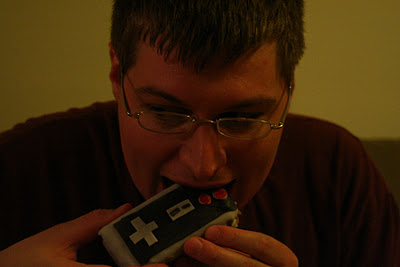
[Editor’s Note: The game “cartridge” was removable as well; instead of blowing out candles, I blew into the edible game cart in hopes that would get the system to start. And for the record, I do not recommend eating game controllers, no matter how vintage they may be. All in all, truly outrageous.]

Harbor Sweets Worth the Trip

It’s no secret to anyone who has spent time near me that I am a chocolate fiend.  I’ll grab the Hershey’s Milk Chocolate bar just as easily as I will reach for the high-end and well made chocolates.  That’s not to say I’m not discerning – I am, my ideal chocolate is dark with nuts in it (but not too many) and has a high cocoa butter content, but if my ideal isn’t available (which sometimes happens) I’ll reach for that Hershey bar without thinking twice.  Luckily for me I recently had the chance to eat some high quality chocolate and watch it made from scratch right in Salem, MA by Harbor Sweets Chocolates.

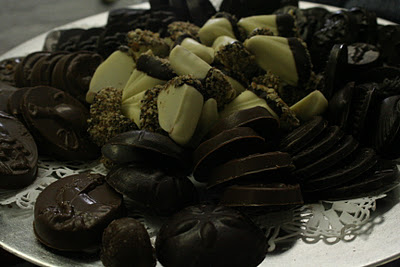
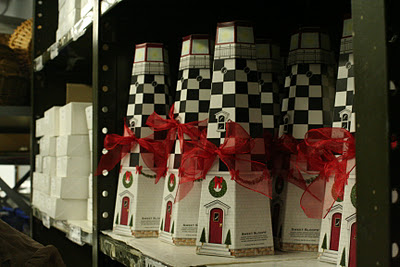
Harbor Sweets is a totally enchanting chocolate shop that makes an effort to make chocolates by hand with care.  When Harbor Sweets invited the Boston Bloggers over for a tour and tasting I was not expecting what I got.  We were greeted at the door by a large tray of chocolates with all of the chocolates that Harbor had to offer, I chose a Sweet Sloop (Harbor Sweet’s signature chocolate).  As Megan chose her chocolate I wandered a bit of the shop which actually looks out over the area of Harbor Sweets where the Sweet Sloops are made!

HS makes chocolates by hand, from the copper kettles that they cook the almond butter crunch for the Sweet Sloops to the people standing on the line to add the line to the sails of the sloop everything is given careful attention.  Watching everyone work there was a wonderful experience and made me want to eat more of their chocolate.  I loved knowing just how much effort and though went into a single one of my chocolates.

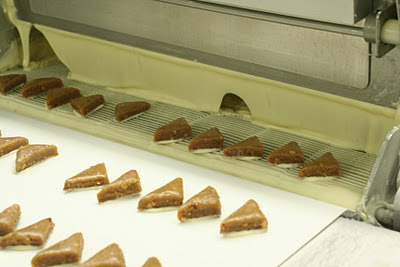
Now, the chocolates – they were fantastic (far and away greater than any Hershey bar, I assure you).  I don’t much care for white chocolate but the Sweet Sloop – a triangle of almond butter crunch covered in white chocolate with a base dipped in dark chocolate and crushed pecans is, without a doubt, one of the most delicious things I’ve eaten in quite a while.

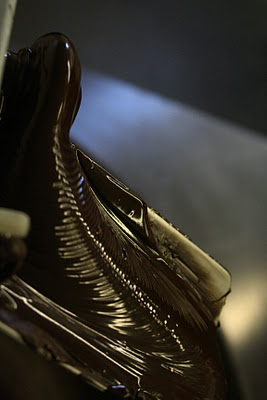
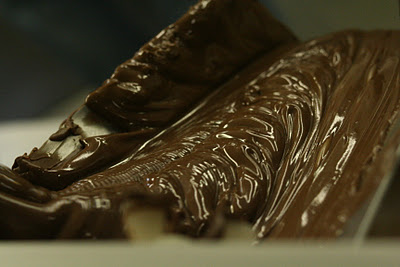
As our tour guide brought us around the workshop I felt spoiled and indulgent, the rich chocolate scents everywhere were magnificent.  We (Megan, Kevin, and I) saw everything from start to finish, from tempered chocolate, to filled molds, to the cooling room.  There was the giant perfectly scored table where THOUSANDS of sweet sloops had been cut and those copper kettles.  There were entire rooms where people hand fed chocolates onto conveyor belts and wrapped candies.  I was enchanted and wanted to live in this Willy Wonka-esque wonderland of chocolate.

I left Harbor Sweets full of chocolate and with a goodie bag to boot.  I will definitely be back to this New England gem to get more of their wonderful chocolate.  And you should totally go check them out too!  They’re on twitter and offer full (and insured) shipping of all of their chocolates from their online storefront.  Go on, give them a try and yes they do ship internationally, in case you were curious.

 My tour of Harbor Sweets was complementary but, as always, my opinions are my own.

Fudgy Brownies with a Swirl

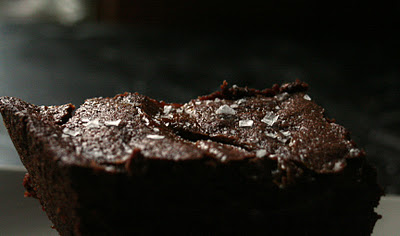
So, here’s the thing.  I love these brownies and I tend to swirl them with whatever I have on hand – Biscoff spread, ooey-gooey caramel, peanut butter, sea-salt flakes – basically anything that will lend itself to chocolate.  I am partial to the swirl of Biscoff spread – it’s a little bit cinnamony and a whole lot of tasty that makes the chocolate much less decadent and totally sinful.  I found these brownies before I even started blogging and immediately made them to BF’s groans of general brownie dislike.

The crux of a good brownie, I have taken to thinking, is that it must contain some sort of balance and MUST MUST MUST have mad quantities of butter inside.  They should also be an soft brownie, one specifically designed to be fudgy and dense – but still fully cooked.  These are that magical brownie that falls between overly rich and heavy and cake.  They are moist and addictive.

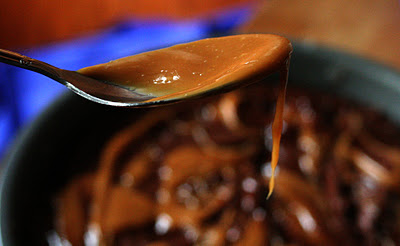
That first batch of brownies was plain, with a sprinkle of Maldon flaky sea salt.  Brownie batch number 2 was a swirl of peanut butter and a sprinkle of sea salt.  Batch number 3 was a swirl of Biscoff and batch number 4 had a caramel swirl.  All of the brownies had their pros and cons – salty lovely caramel, creamy lush Biscoff, peanut butter, and the simplicity of a well chosen salt.  These would probably also lend themselves to a swirl of Nutella if that’s your thing.

Regardless, you should probably make these brownies, for yourself or just to give to a friend who needs some cheering – as long as they like chocolate!

Fudgy Brownies with a Swirl
Adapted from Bake or Break (I think, this recipe has been floating around my apt for a while).  I have modified the recipe so use more unsweetened baking chocolate (because I have an excess) and I cook mine a little more than she suggests.  I have added directions to swirl ingredients in but I will leave it up to your discretion as to what that swirl you choose, if any.

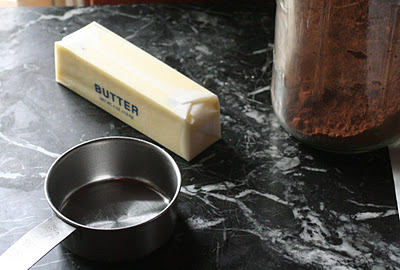
10 Tbs unsalted butter
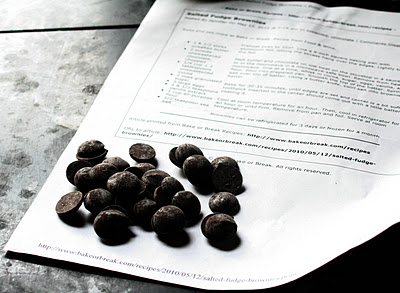
3 ounces unsweetened chocolate
1/4 cup unsweetened cocoa powder (dutch processed will be richest)
2 cups granulated sugar
3 large eggs
1 1/2 tsp vanilla
1 cup all purpose flour
1/4 cup peanut butter, biscoff spread, caramel sauce, dulce de leche (whatever)
1/2 tsp sea-salt

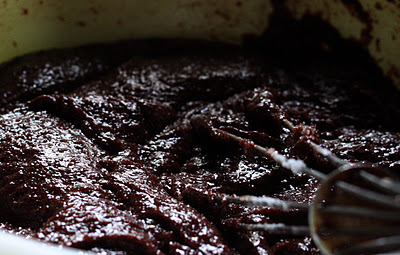
Preheat an oven to 350  degrees.  Grease and flour a 9″ round or square pan, if you want to get really fancy you can line it with parchment paper (a tutorial can be found here).  In a small-ish (microwave-safe) bowl, or in a double boiler, melt the unsweetened chocolate and butter together until well blended, about 45 seconds in the microwave stirring every 15 secs or so.  Allow the chocolate/butter mixture to cool slightly.  One at a time add cocoa powder, sugar, eggs, vanilla, and flour – making sure to fully incorporate each ingredient before moving to the next.  Pour the batter in to the prepared pan.  If you are adding a swirl to your brownies you will do that now, drop tablespoonfuls of your swirl (Peanut butter, biscoff etc) into the pan strategically and gently swirl them in with a knife making sure to not get too close to the edges of the pan or scrape the bottom.      Sprinkle the salt onto the top of the swirled batter.  Bake for 30-40 mins, until the edges are set and the middle is set (but not necessarily firm), at this point a toothpick inserted into the center will come out with a bit of batter (though it shouldn’t be much).  Cool the brownies at room temp for 20-30 mins, I like these brownies when they’re warm from the oven but if you want it less gooey stick it in the fridge.  The brownies will still be rich, but less messy.  These go fast, especially if you like brownies.

Brunching to Bursting at Local 149

The Drinks of Local 149

Some weekends are quiet and you do nothing, and some weekends you are forced into doing that.  I recently experienced the phenomenon of forced relaxation after significantly overeating at Local 149, in South Boston.  Between the amazing drinks and the multiple courses that they served us I arrived home barely able to stand and promptly slipped into a day-long food coma.  Please don’t misinterpret this as complaining, please.  My time at Local 149 was filled with some of the best brunch food I’ve eaten in a very long time.  And the best sangria (a white-peach and mint number) I’ve ever had the pleasure of trying.  This was a culinary journey involving the best of brunch, so now I offer you – Food Porn.  Full of decadence and over-indulgence, I assure you the trip to the Southie is definitely worth the effort.

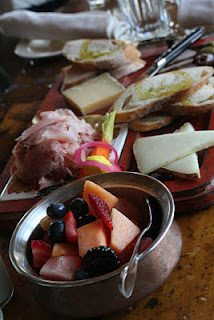
Farmer’s Plate
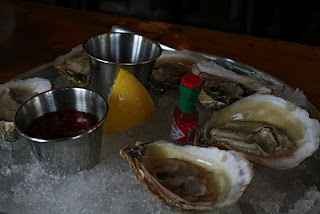
Island Creek Oysters with Raspberry Migonette

When I first got to Local 149 with Renee, we were early (about 15 mins early) so we sat at the bar and both ordered  cocktails.  Renee ordered a House Mimosa (sparkling wine, OJ and pom) and I went with the Danish Bloody (a solid Bloody Mary topped with house made pickles).  We sat and chatted while the rest of the brunchers trickled in – Jess, Megan, Amanda, Audrey, and Marie – to name a few!  Local 149 set up our table and lo and behold – another drink!

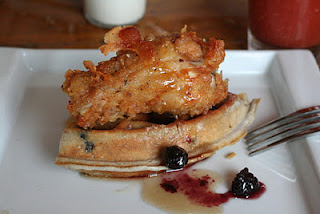
Chicken and Waffles with Blueberry Rosemary Syrup
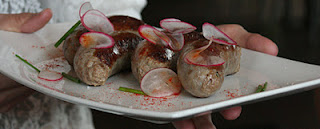
House Made Duck Sausage

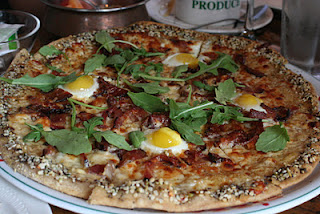
This time it was the Thai Young Coconut Cocktail (and since my dining companion was pregnant that baby was all mine!).  After that the food was coming out of the kitchen faster than we could eat it and the drinks just kept coming out. Ten courses and three drinks later (among them a second bloody mary, apparently I can drink!) I was rapidly approaching food coma and desperately in need of a nap.  My photo recap is below.  My favorite thing – the breakfast pizza with quail eggs, bacon, 3 different cheeses, arugala, and a crispy seed covered crust!  My least favorite thing – the Lobster McMuffin, it was like 6 inches tall and I was so stuffed when it came out that it wasn’t even appealing to me.

Breakfast Pizza
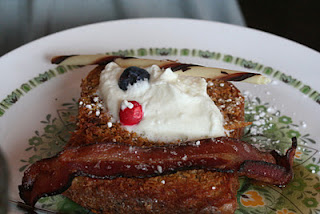
Toast to Life and Bacon

My verdict?  Go to Local 149!!! Drink the sangria, especially if it’s warm out and I don’t care when it is – get the pizza.  It’s fantastic and great for sharing.  Also take a moment to appreciate the intended kitsch – mismatched mugs and fun flatware help the atmosphere of a place with high end food relax and become a family affair.

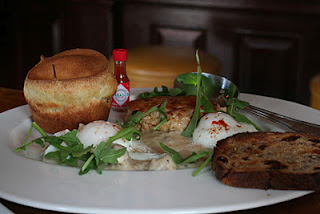
Yorkshire Pudding with Sausage Gravy
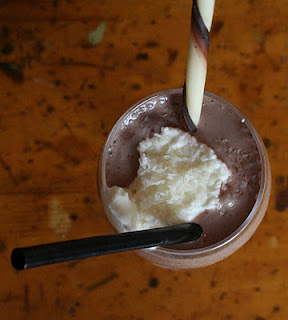
Chocolate Malt Shake

Local 149 on Urbanspoon

Yeast Risen Pumpkin Bread

Photo taken by Rachel Leah Blumenthal of Fork it Over, Boston and Boston Food Bloggers

There are some days that are just plain nasty.  It’s cold outside, or rainy, and all you really want to do is stay in, huddle up to a toasty oven and bake while reading a good book.  As fall sets in I am encountering more and more of those days.  Days where the rain outside makes everything gray and the world seems like it would be much more appealing in my warm and cozy, down comforter covered bed with a good book.  As I am home more on rainy days trying to come up with creative ways to spend my time that don’t involve replaying Diablo 2 (which is AMAZING) I head for the oven and my baking bibles – Flour, Boston Cooking School, the internet – whatever strikes my fancy and I bake a lot, usually more baking than BF and I can eat on our own, happens in the colder weather.  It’s an obsession, also – I tend to bake so I don’t have to turn up the heat!

This pumpkin bread was baked on one of those gross, rainy autumn days that kept me tied to my apartment and fidgety.  BF had been asking me to make monkey bread so I went to the pantry hunting for a recipe (really the only recipe I use, the one from Smitten Kitchen) but it was a white monkey bread, I wanted mine to be pumpkin – so I did what I always do when I don’t have a recipe for something, I called my mom.  After a discussion on the rain, yes it was raining in Maine and Boston (such craziness!) I got around to my question; can I sub in pumpkin for a liquid in bread or did she have a yeast bread recipe with pumpkin?  She paused, reprimanded my little brother and then proceeded to consult her wall of cookbooks.  As Mom searched her cookbooks I searched the net – to no joy, seriously the internet makes me a sad panda sometimes.  Mom however, was victorious – nestled in the pages of the King Arthur Flour 200th Anniversary Cookbook was a recipe for yeast risen pumpkin bread, what joy!  I flipped over the monkey bread recipe and wrote down ingredients and steps.  I was ready.
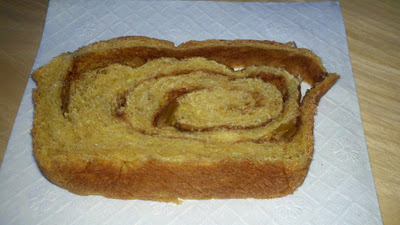
So I measured, mixed, kneaded, waited, shaped, waited, baked and ate.  Making yeast risen bread is one of my favorite activities and on a rainy day it was perfect.  And this bread?  I made it three ways – as a cinnamon roll (which I sent to work with BF), a plain loaf of pumpkin bread, and monkey bread (of course).  I think the cinnamon raisin bread was the best usage of the dough and next time I will not try to make it stretch so far.  The monkey bread was dense and over cooked 🙁 and  the plain loaf lacked the oomph I was looking for.  But the cinnamon-raisin bread?  it was bread gold; rich and sweet without being cloying.  It was decadent and totally fantastic.

Yeast Risen Pumpkin Bread
Adapted via Mommy from the King Arthur Flour 200th Anniversary Cookbook
Note: This makes two full loaves, don’t try to stretch it into three unless you’re making mini loaves anyway.  I adapted this recipe a little bit out of necessity because I realized I only had one egg, so this is mine after the one egg change.

For the Bread Dough
1 1/2 cup milk, at 110 degrees (should be just warm to the touch)
1 Tbs sugar
2 Tbs yeast
1 Egg
1/4 cup butter, softened
1/2 cup brown sugar
1 1/4 cup pumpkin puree (I always use One Pie, made in Maine of Maine pumpkins 🙂
2 tsp cinnamon
1 tsp nutmeg
2 cups all purpose (AP) flour
1 Tbs salt
3 1/2 – 4 1/2 cups AP flour

For the Cinnamon raisin swirl
1/4 cup butter melted
1/2 cup brown sugar
1 tsp cinnamon
1/2-1 cup raisins

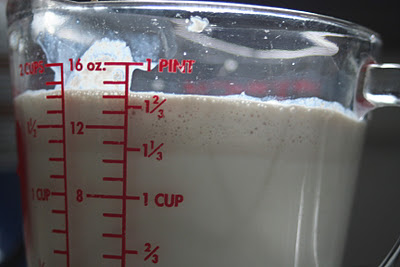
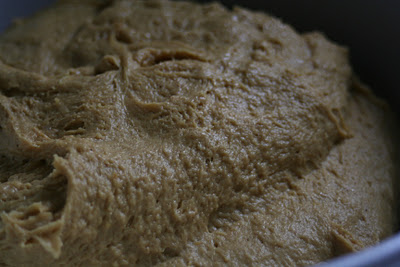
In a large bowl combine the milk, yeast, and sugar and allow it to get bubbly (2-3 mins).  Add the egg, butter, brown sugar, pumpkin, cinnamon, and nutmeg and mix until everything is fully incorporated and smooth.  Add the 2 cups of flour and salt to the liquid mixture.  It should look like a thick brownie batter at this point (but orangey as opposed to dark chocolatey).  Add the additional flour 1/4 cup at a time until the dough is no longer sticky and is in a nice dough ball.  Knead this dough ball for 3-4 minutes – until it is smooth and elastic. Allow the dough to rest for 3-4 minutes then briefly knead it again.  Put the fully kneaded dough into a large, clean, oiled bowl, cover it with either plastic wrap or a bread towel (one with no terry on it), and let it rise until doubled in volume.  This takes about two hours.  Maybe you should go watch a movie?  And since it’s October I will suggest Zombieland, because it’s fun.

After your dough has risen go ahead and punch it down, you know you want to.  Turn out the dough onto a lightly floured countertop and split it into two halves with a sharp knife (or counter scraper if yours is sharp like mine).  Move one half of the dough over to the side.  Roll the second half of the dough out until it’s about 9″ wide (this should be the height of your bread pan) and 15″ long.  Using a pastry brush, spread half of the melted butter onto the rolled out dough.  Sprinkle the melted butter with half of the brown sugar, cinnamon, and raisins.  Starting on the 9″ edge roll the dough up.  Tuck in the ends and place the loaf in a well greased pan with the seam side down.  Repeat with the second loaf of bread.  Cover the shaped loaves and let them rise a second time, this time for just half an hour or so to let the gluten calm down.

Place the bread loaves in a cold oven preheating to 400 degrees Fahrenheit, cook for 15 mins.  Turn down the temp to 375 and leave the loaves for 20 mins.  The loaves will be a nice golden brown when done.  When the bread is still hot rub butter over the top, this will keep the bread from getting too hard and dry and it will also infuse it with butter, which is AWESOME.  Eat this bread as breakfast or a late night snack, maybe with some Doves and Figs jam?