Dairy Free Pumpkin-Pecan Scones


Hello! I’m back and this time WITH SCONES. I’m sorry I know I’ve been absentee for two months (Ah!). I’ve been busy – I got a new job (two actually) that I think about a lot and my summer has been, well, a bit lazy. I haven’t been cooking so much. But, today marks the beginning of fall. So a new season means a fresh slate, and pumpkin, and apples, and nutmeg, and all the lovely flavors of fall. I can’t WAIT to get into the kitchen and start cooking, so here’s hoping I can come back here rejuvenated and full of new recipes for everyone. So, here you go, starting NOW: Pumpkin scones – WITHOUT DAIRY.
I am as accepting of a challenge as the next person (unless it’s squishy, or slimy, or in general unpleasant – then no, just no). So when BF’s family was visiting recently and his father requested scones made without dairy my mind started whirring, in that way it does.  I started thinking about butter alternatives (which seems like some sort of blasphemy coming from me) for BF’s dad, of course.  I pulled down books I loved, I searched blogs, and I checked my shelves for a semi-solid fat alternative, preferably with a good flavor. And then, I found it.  A can of coconut milk that had been sitting unshaken in my pantry.

I grabbed it almost immediately and started modifying the recipe I was thinking on.  Pumpkin (ok, I used Squash), cinnamon, coconut cream, flour, leavener, sugar – I was good to go.  I’ve been making these scones for about two months now.  They’re a little sweet and with a nice tartness from the berries. I love them.  BF loves them.  BF’s dad loves them.  They are universally loved.  These are best enjoyed with a debaucherous amount of butter, or jam, if butter’s not your thing.
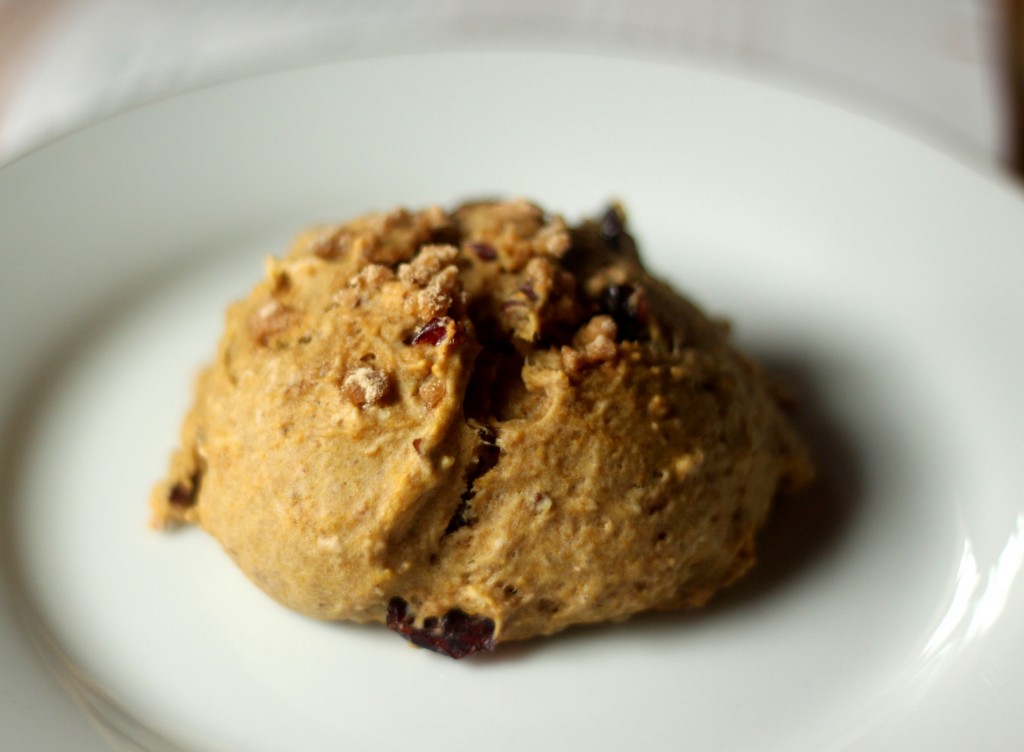
Dairy-Free Pumpkin Raspberry Scones
Note: I love these scones and I will continue to make more of them without butter in the future. This recipe is adapted from one in The Best Quick Breads by Beth Hensberger, which is a book I can’t recommend highly enough. Especially if you like sweet breads. It’s perfect.

  • 2 cups flour
  • 3 Tbs dark brown sugar
  • 2 tsp baking powder
  • 1/2 tsp baking soda
  • 1/2 tsp salt
  • 1 1/2 tsp pie spice (or make your own with what you’ve got on hand)
  • 6 Tbs Coconut cream the fatty heavy stuff on the top on a can of unshaken coconut milk)
  • 1/3-1/2 cup fresh or frozen berries, I use raspberries or dried cranberries
  • 1/2 cup chopped pecans
  • 1 egg
  • 1/4 cup coconut milk (use the water from th can after you’ve gotten the cream from on top)
  • 1 tsp apple-cider vinegar
  • 1/2 cup pumpkin puree (I use One-Pie Squash, because it’s my favorite and canned in Maine from Maine pumpkins)
  • Cinnamon-Sugar
  • 1 egg gently beaten (for brushing the scones with)
  • Preheat the oven to 400 degrees Fahrenheit and line a cookie sheet with parchment.
  • In a medium bowl combine the flour, brown sugar, baking powder, baking soda, salt, and spice. Mix until evenly combined.
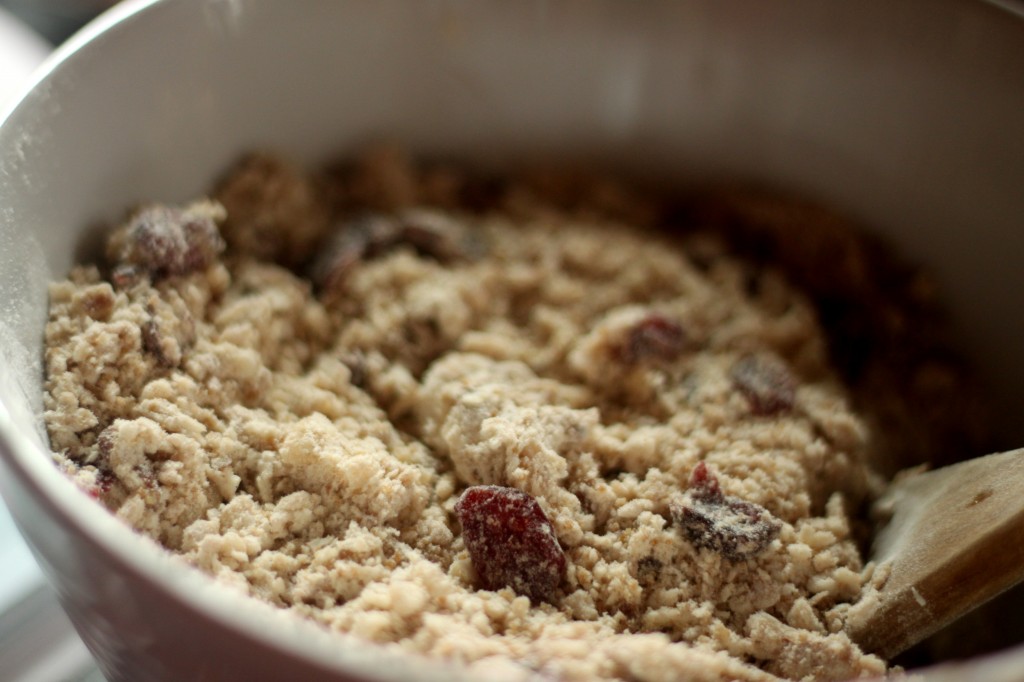
  • Cut in the coconut cream – the mixture will look a little loose, it’s ok go with it. The nice thing about using coconut cream here instead of butter is that it doesnt require the labor that butter will to cut in. you should just be able to stir it with a fork and get nice little bits of fat.
  • Mix in the pecans.
  • In a small bowl (I usually just use a two cup measure) combine the pumpkin, coconut water, cider vinegar, and 1 egg. beat this with a fork until it comes together.
  • Add the wet ingredients to the dry and stir to combine. Mix until everything just comes together.
  • Fold the raspberries in, gently.
  • Using a large cookie scoop, spoons work too, measure out the scones (I use a 2 oz cookie scoop, it makes my life easier). Place the scones on a cookie sheet 1 to 1 1/2 inches apart.
  • Brush the tops of the scones with the beaten egg and sprinkle with cinnamon-sugar.
  • Bake the scones for 20-25 minutes, until the tops are slightly golden and a toothpick comes out clean.
  • Serve these warm. With a smear of butter and coffee. They make a great afternoon snack later, too!
  • Enjoy!

Maine Sourced Granola

This is a celebratory post. It is it my hundredth post here – I feel like it should have shown up sooner and there should be a greater fanfare, but I’ve been busy. I worked really hard and threw an epic beer fest with some absolutely fantastic people, I started a new job (more on that later), and I’ve just been sort of lazy. I know I’m not supposed to admit that here – where I show you pretty pictures of food and make you think I eat like that all the time – but I don’t. Most nights I eat pasta with butter and Parmesan on it or instant mac and cheese. I have plenty of knowledge but a low threshold for motivation. Occasionally that comes out here. This post is about the awesome though, this is a celebration of this little blog – this corner of the internet I have claimed as mine and proudly declared to be KATHY CAN COOK. I’ve covered it in 8-bit sprites, I’ve met some amazing people, and I’ve eaten SO.MUCH.GOOD.FOOD.
This is not me signing off – please don’t think that as I wax nostalgic about how great keeping this blog has been. I’m not giving up on it, at least not yet, I’m not even taking a break. I’m just sharing how loved this makes me feel – and how great it is to have made friends, actual friends, through blogging. That’s what this recipe is – new to me comfort food that is a little bit of home and a whole bunch of love. I made it with my big sister on a Monday afternoon that she’d taken off to hang out with my kid brother and I. It was a perfect leisure activity.
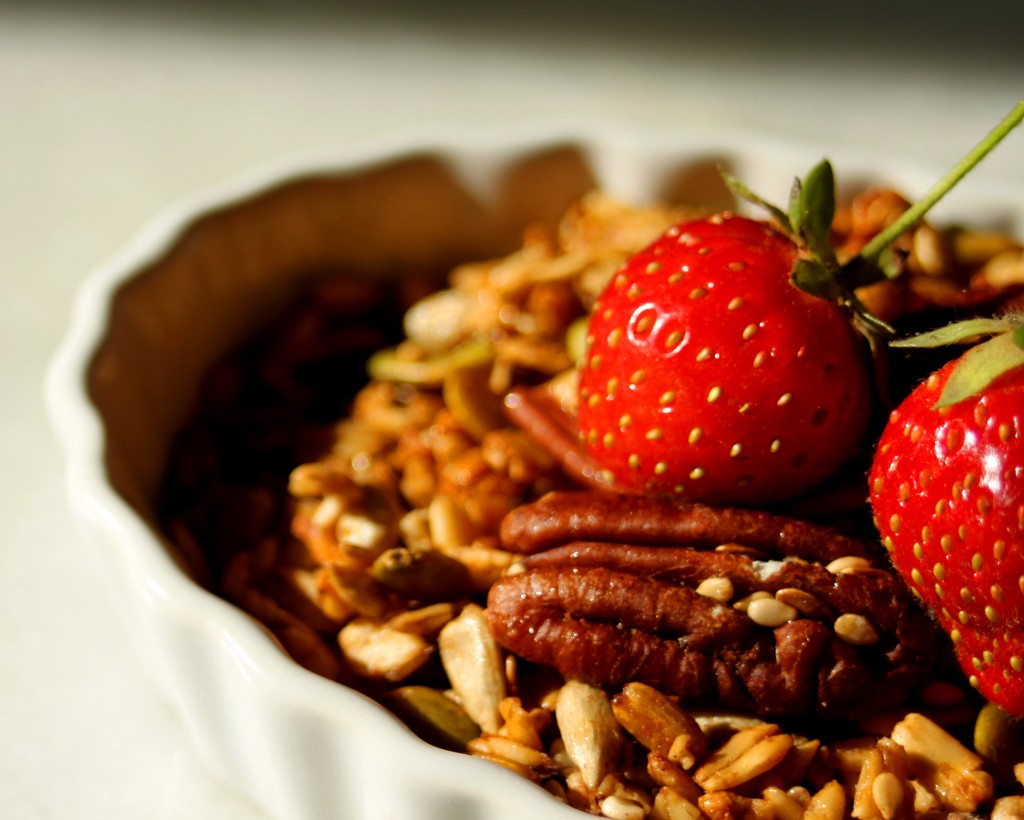
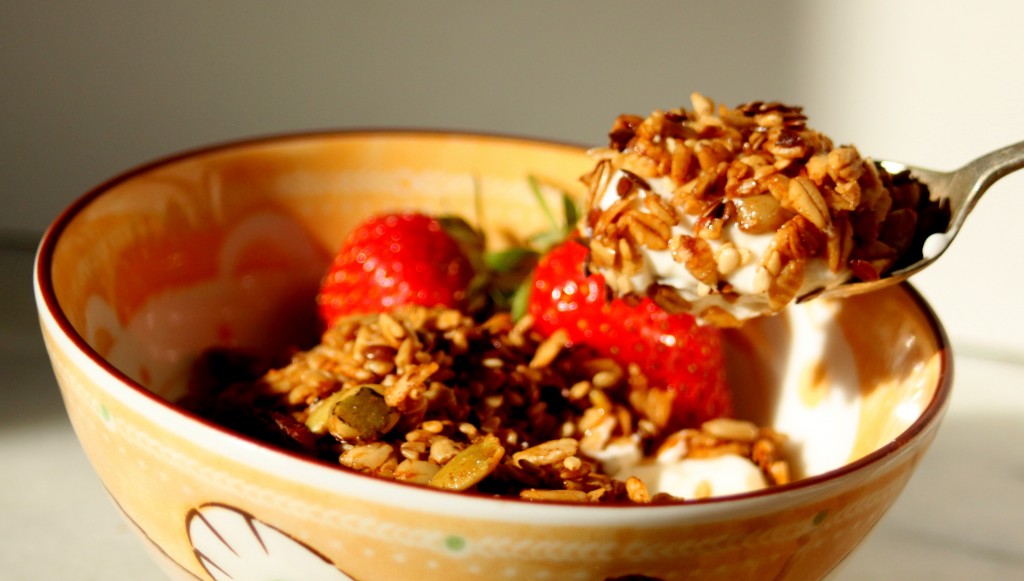
This granola is made with rolled oats sourced from Aurora Mills in Maine, and alone they are great and nutty oats – in granola they have just the right flavor and give while still being chewy and filling. This is not-too sweet granola either, it’s maple-y without being in your face and it holds its own against the tang of Greek yogurt.
I say this granola is home because it is. I feel a special connection to pretty much anything sourced from Maine and even now, when I don’t live in Maine anymore I still refer to myself as a “Maine kid” it gives me a sense of identity and place. I love it – so this granola is a perfect example of blogging for me – it’s new, my first homemade granola (win) paired with some old (a few Maine oats to make me feel like I’m home).

Home-Made Granola

Note: This recipe is loosely based on one from the Cooks Illustrated Cookbook in that I looked at that cookbook for ideas of what ratios to use and what temperature to cook my granola at. Please consider this a broad guideline to create your own granola recipe though, it’s totally adjustable I used the flavors and textures I really liked when I made this, as such you should adjust in your own way. It does make a lot of granola though, so be prepared to share!

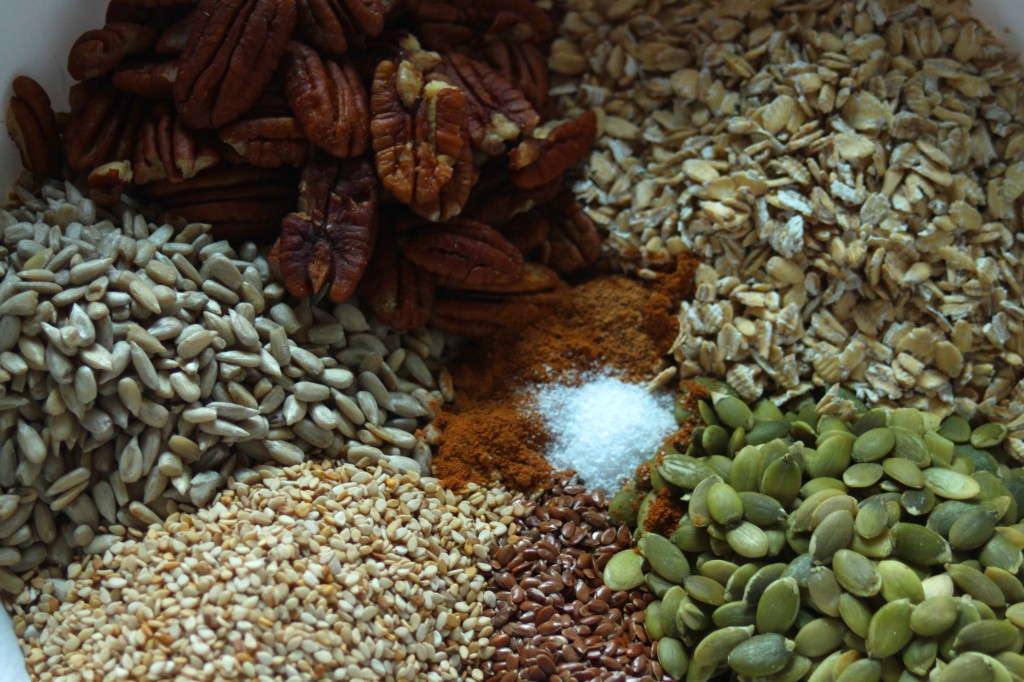
  • 3 1/2 Cups Old Fashioned Rolled Oats – small batch rolled oats will be nuttier and more flavorful
  • 2/3 cup Pepitas, hulled pumpkin seeds
  • 1/3 cup sesame seeds. raw
  • 1/3 cup flax seeds
  • 2/3 cup nuts (I used pecans and they were AWESOME)
  • 2 tsp cinnamon
  • 1/2 tsp nutmeg
  • 1 tsp salt (I use coarse kosher, but go with your preference)
  • 1/3 cup high heat oil (I used peanut, but you can use safflower, sunflower or whatever else too)
  • 2/3 cup Real Maple Syrup (The corn syrup stuff will not work here)
  • 1 tsp vanilla extract
  • 1/4 cup Honey (the honey/maple syrup ratio is really forgiving and can be modified to what you have)
  • 1/2 cup toasted coconut
  • 1 1/2 cup dried fruit (I used cranberries, tart cherries, and candied ginger)
  • Preheat your oven to 300 degrees farenheit.
  • In a large bowl combine the dry ingredients (oats, nuts, and seeds) and mix until evenly distributed.
  • In a small pan combine the oil, honey, vanilla, and syrup. Heat them over low heat until the liquids are fluid and easily mixed.
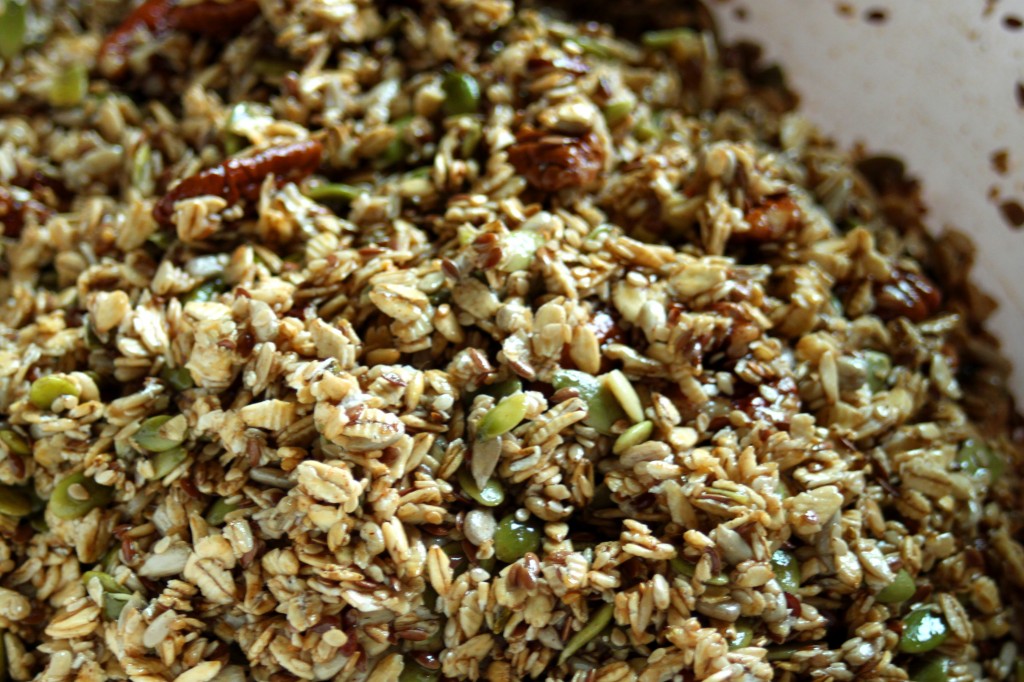
  • Pour the liquid over the dry ingredients and mix until everything is evenly coated
  • Put the granola in a large pan (I use my turkey roaster) and spread it out evenly so it is an even layer (mine was about 3/4 inch thick).
  • Toast the granola in the oven for about an hour – stirring every 10 to 15 mins to prevent large clumping. THe granola will be golden brown and fragrant when it is done.
  • Allow the granola to cool completely, for at least an hour.
  • Mix the toasted coconut and dried fruit into the toasted granola.
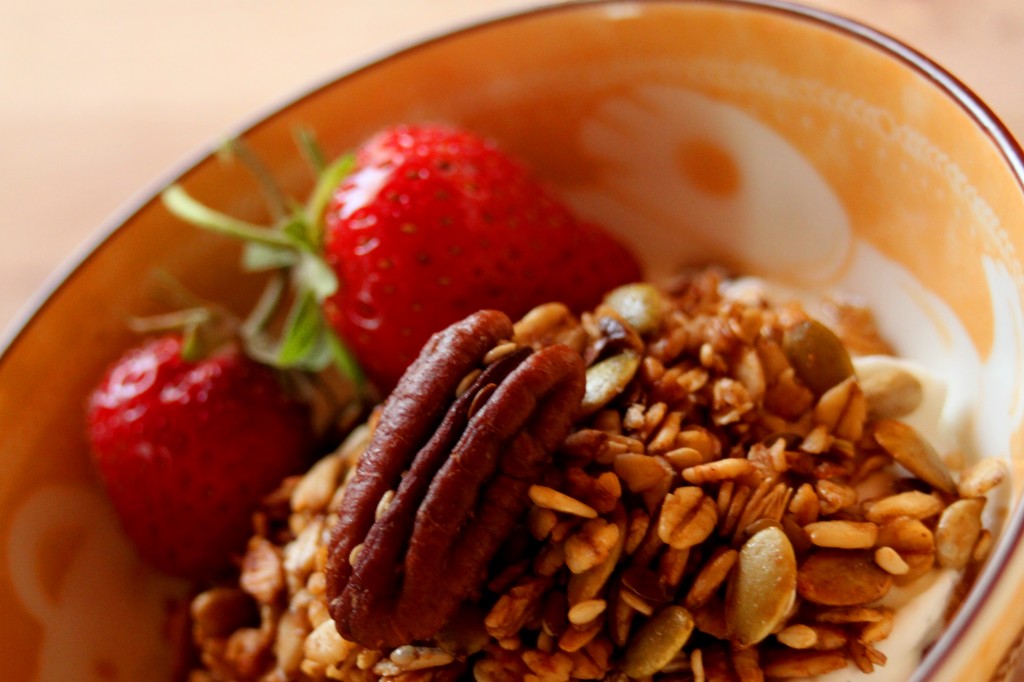
  • Eat over your favorite yogurt or by the handful!

Rosemary-Asiago Shortbread

Rosemary Asiago Shortbread

I’m a sucker for savory-sweet combinations – so when my Boston Organics box arrived last Thursday and had a clamshell container of rosemary inside I did a little jump of joy. See, I’d been thinking about a savory shortbread for quite awhile after an accidental tweet to the fantastic Shelby saying I owed her some parmesan shortbread. I meant to say parmesan crackers but that accidental tweet started my cooking brain going. There was a salty-sweet cookie that sounded swoon-worthy and it lingered. I started to fantasize about this cookie and spent a lot of baking time playing with it.

Ingredients

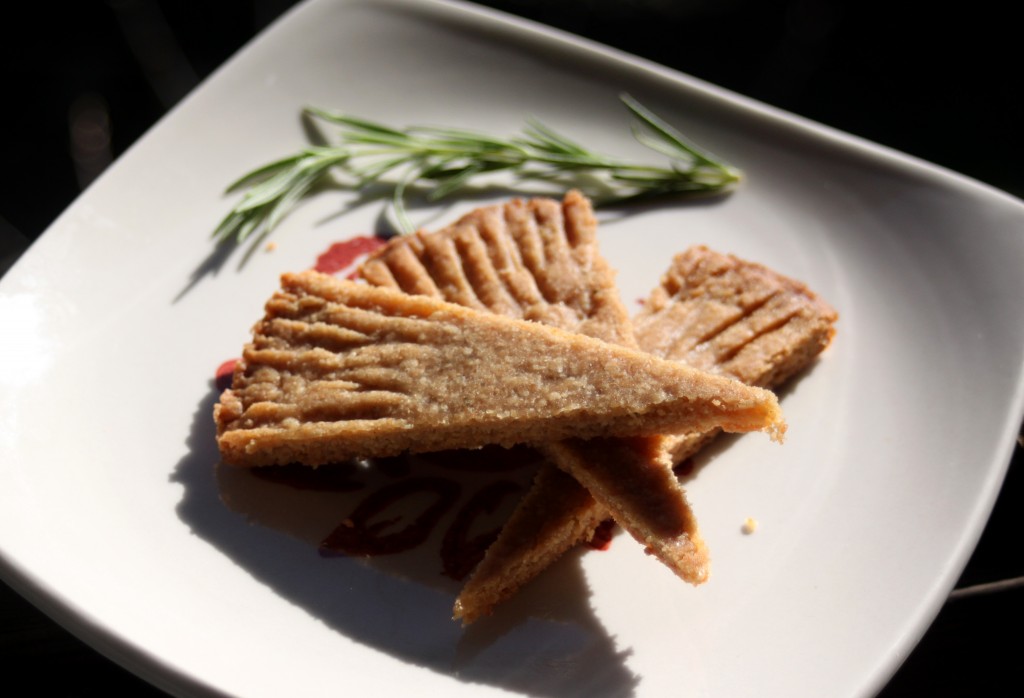
Then I tried the Lark’s fine foods Rosemary Shortbread – I ate an entire package of these cookies in a sitting. I would say oops to that lapse in common sense, but I don’t regret it – they were luxurious and decadent with a perfect crumb. Here’s the thing – I am not typically a fan of shortbread in any form. I find it bland and lackluster most of the time. But, this shortbread – the Lark’s and my own are perfect. They are a little sandy and offer just the right amount of sweetness to keep you eating them.

Dough

I am hopelessly in love with these cookies, and everyone I’ve shared them with (aside from BF, because he’s not the biggest rosemary fan) has felt similarly. These are rich without being overly so, they are sweet without being cloying, and the rosemary is such an unexpected burst of flavor you really just want to keep eating them until they are all gone.

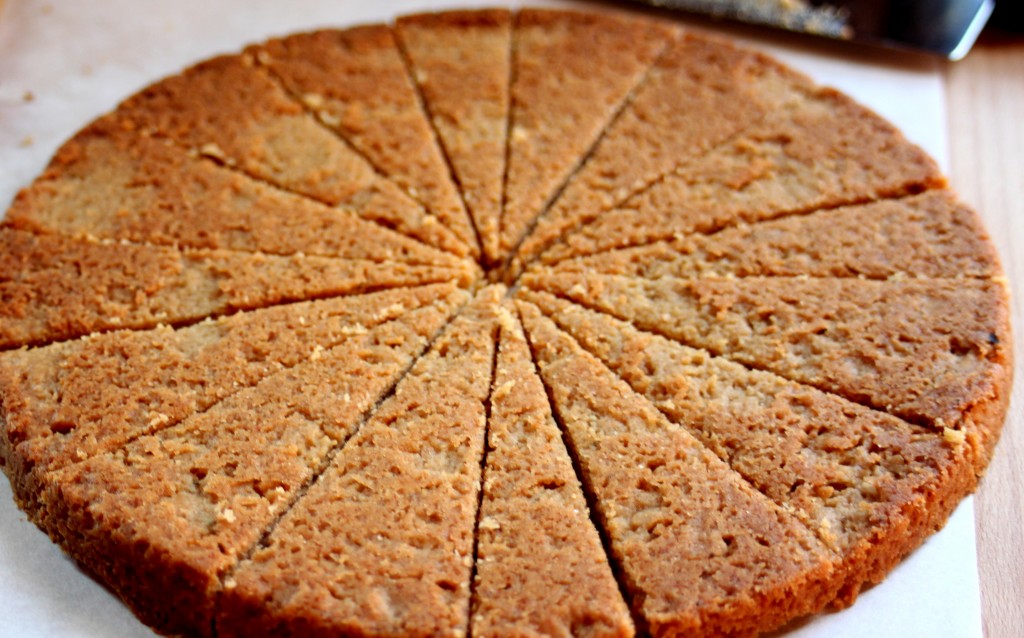
Wedges

Rosemary-Asiago Shortbread

Note: This recipe is an odd Frankenstein’s Monster of at least three that I’ve had kicking around my apartment for a while. I’m now fiercely attached to it though and will probably continue to use the base for all of my shortbread needs.
  • 1/2 cup grated asiago or parmesan cheese
  • 3-4 Tbs rosemary leaves removed from the stem, more rosemary is a stronger flavor – I prefer more, BF prefers none
  • 1- 1 1/2 Tbs maple syrup
  • 1/2 cup dark brown sugar
  • 1 cup butter
  • 2 cups flour
  • 1/2 tsp baking powder
  • In a small saucepan over medium-low heat, melt the butter and gently swirl it around until it becomes a light brown and smells nutty. DO NOT WALK AWAY FROM THIS BUTTER AT ANY TIME. The butter will burn if you do that, because it’s an evil thing that wants you to waste more butter.
  • Set the browned butter aside to cool slightly.
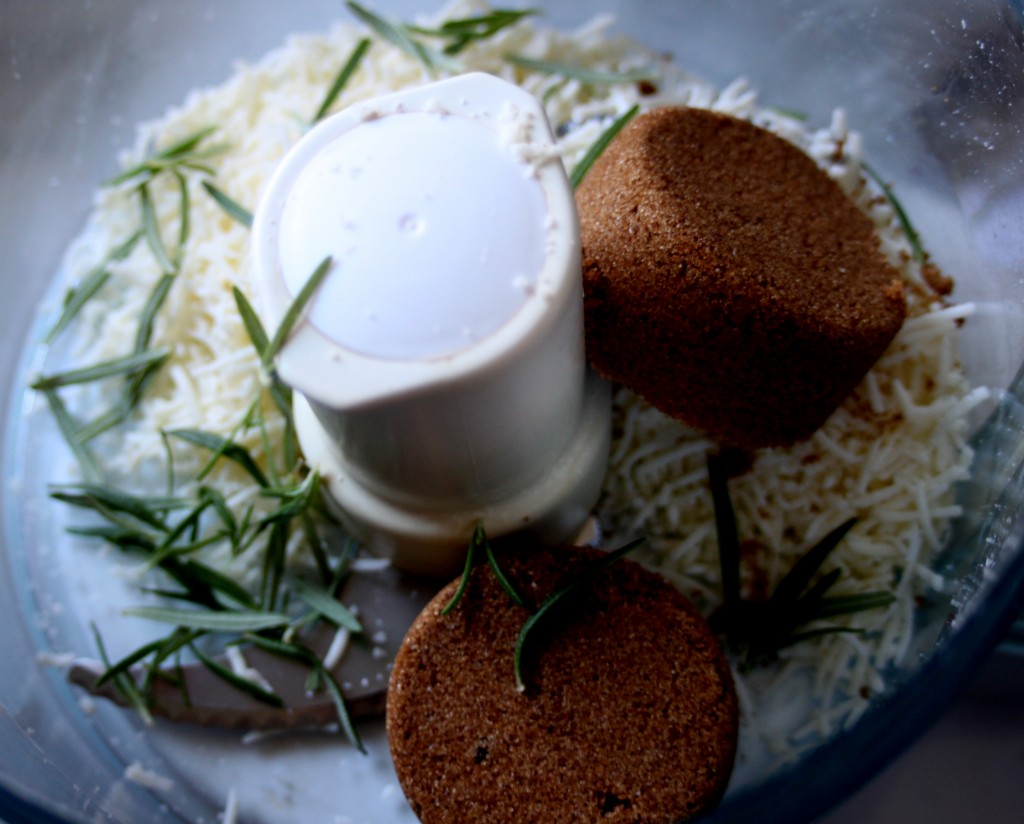
  • Add the cheese, rosemary, brown sugar, and maple syrup to the bowl of a food processor, pulse or run this until it resembles wet sand – about fifteen pulses or 45 seconds of steady speed.
  • Add the butter to the food processor and allow it to fully absorb into the sugar mixture (this should only take a couple of seconds).
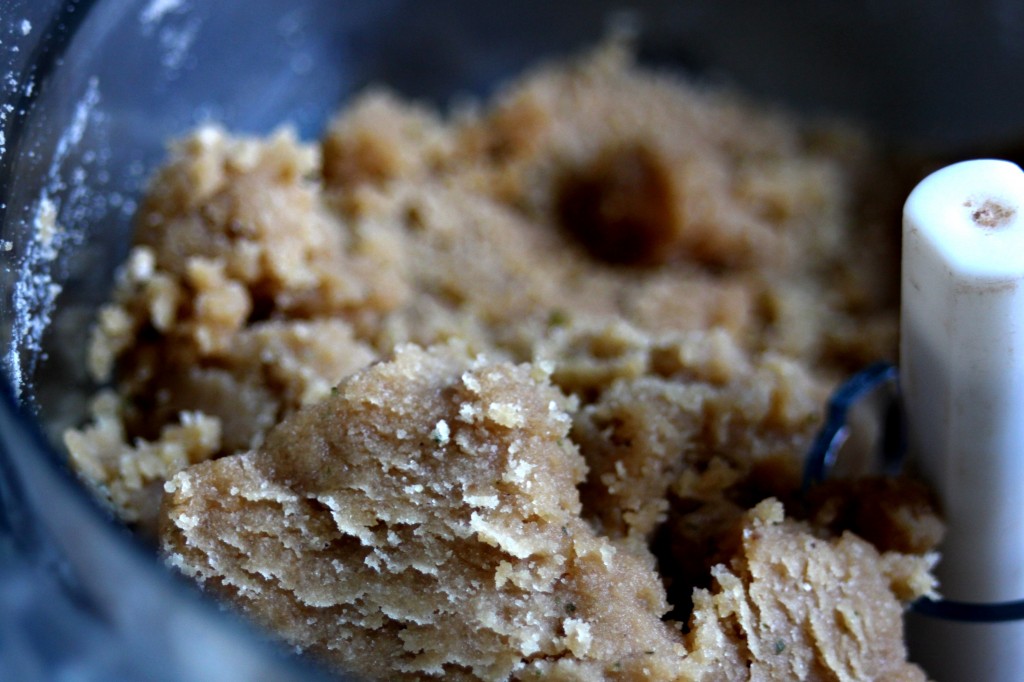
  • Add the flour and baking soda and pulse until just combined. The mixture will look like loose pie dough.
  • Wrap the dough in plastic wrap (a couple layers are better, I find) and chill it in the fridge for half an hour to an hour.
  • Separate the chilled dough in half.
  • Press each half of dough into a 9-inch round cake pan. You may need to crumble the dough up then press it back in tightly. Don’t worry, you won’t hurt it. I usually use a piece of parchment and a ball jar to smooth mine out so it’s even.
  • Press the edges of the dough down with a fork, so there are little lines all around (this is my favorite part).
  • Bake the shortbread at 325 for 20-25 minutes; the edges will be a light golden brown and they will smell amazing.
  • When the shortbread is done, remove it from the oven and immediately flip it out onto a cutting board. Cut this into wedges while it is still warm. If you don’t cut the cookie while it is still warm it will turn to crumbs when you try to cut it later. THIS IS YOUR WARNING.
  • Eat this with tea on a sunny porch. You will love it. I promise.

Irish Cream

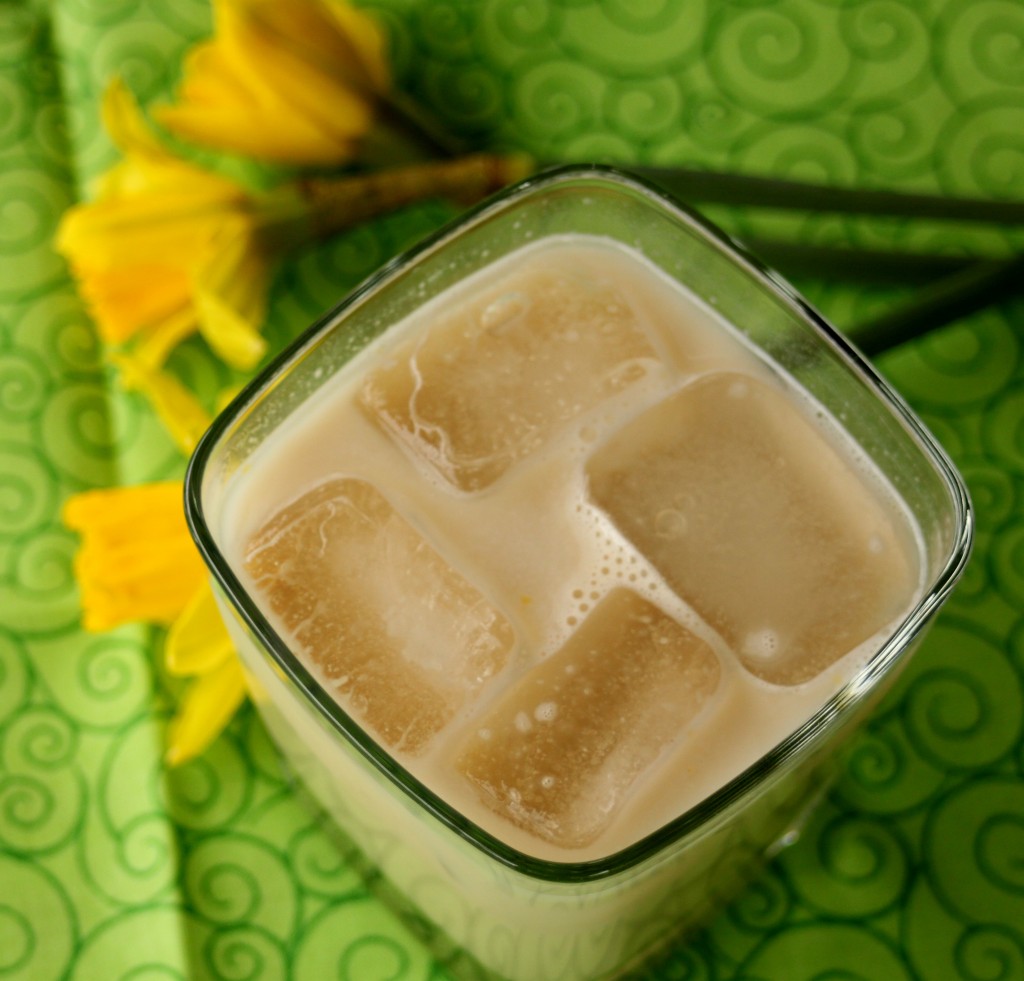
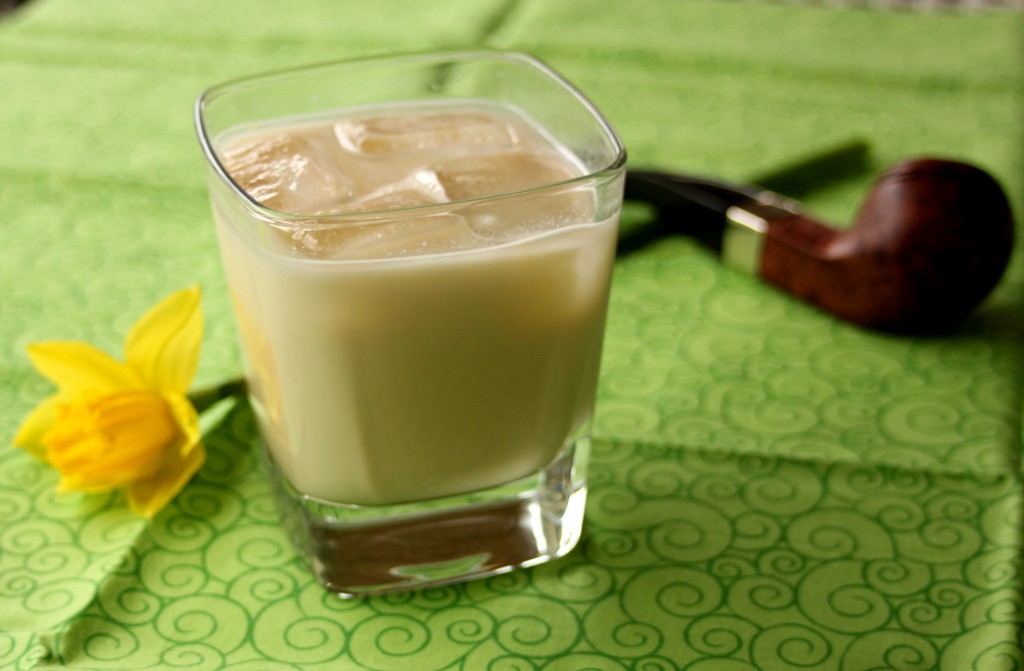
Irish Cream

Irish cream, it makes me think of college and ill-formed ideas, a chilled liqueur poured over ice and sipped on a spring evening and, of course St. Patrick’s Day. As long as I’ve been old enough to drink I’ve loved Irish Cream, mostly Bailey’s but occasionally St. Brendan’s or another slightly lower shelf product. Last year, or was it two years ago?, BF started to develop a taste for irish cream as dessert. Pouring himself a small glass over ice in lieu of sweets or baked goods.

Whiskey

So in January while reading the Eat Boutique website I came across a recipe for homemade Baileys by Maggie and immediately started plotting – as far as I could tell I had all the ingredients on hand and it seemed like a perfect afternoon pick-me-up. So I made it. It was a resounding success and a perfect Friday afternoon snack.

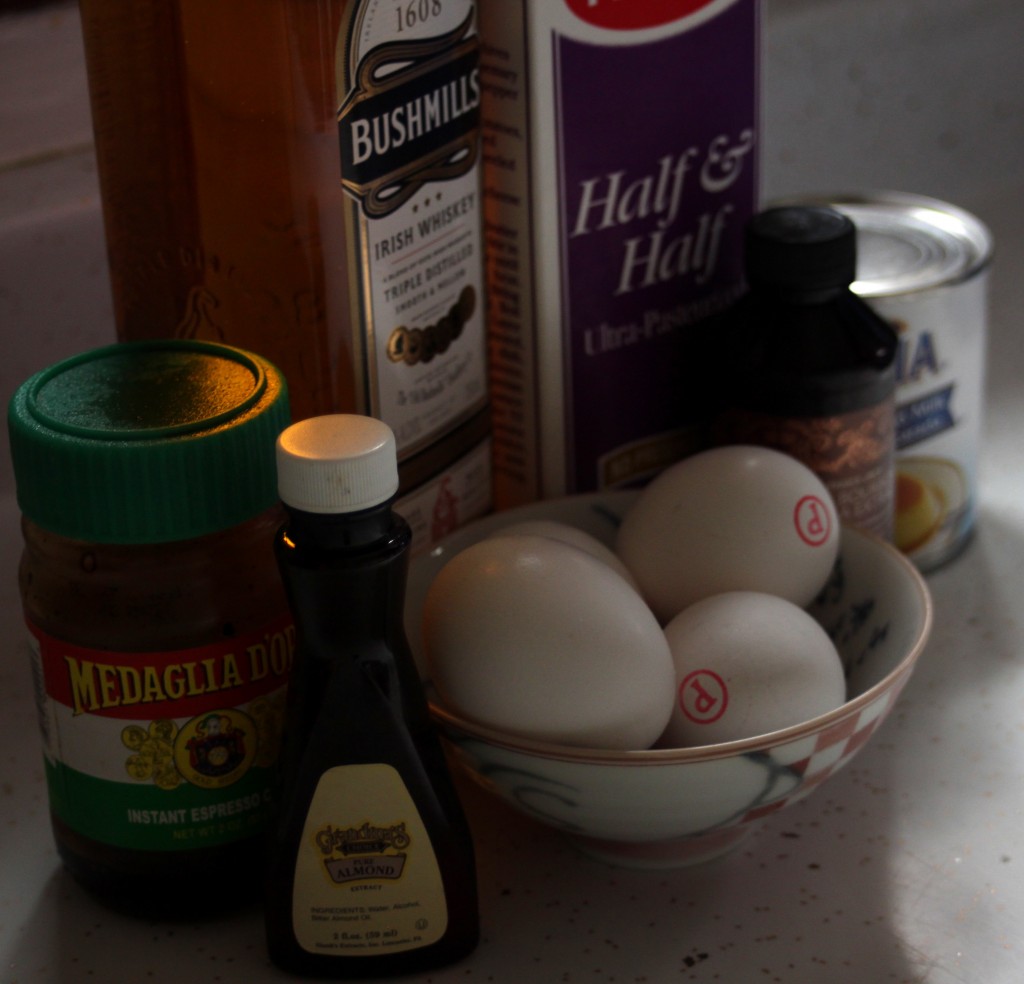
Ingredients

So, now it St. Patrick’s Day and all I want to do is share this recipe with you. It’s 4 in the afternoon, but I’m in Boston and drinking early on St.Pat’s is totally respectable, right? This has rapidly become my go to in lieu of Bailey’s, and it means I always have an excuse for good irish whiskey to be kicking around. And I have zero problems with that!

Irish Cream

Adapted from Eat Boutique by Maggie Battista


  • 4 eggs (I use pasteurized or very fresh eggs)
  • 1/2 tsp almond extract
  • 1 1/2 tsp real vanilla extract
  • 2 tsp instant espresso
  • 1 tsp boiling water
  • 1 tsp Irish Whiskey
  • 1 can sweetened condensed milk
  • 1 1/2 cup Irish Whiskey (I like to use a good whiskey, like Jameson or Bushmills)
  • 1 cup heavy cream (1/2 and 1/2 works too, it’s just not as rich)
  • Combine the boiling water, the instant espresso, and the 1 tsp whiskey together in a small bowl and set them aside to cool (I like to make this in batches of 1/4 cup of each ingredient and use it like extract in everything).
  • In the bowl of a stand mixture fitted with the whisk attachment combine the eggs, extracts, sweetened condensed milk, and cream or half and half.
  • Whip on medium until everything is frothy and fully incorporated.
  • With the mixer on low (on my KitchenAid I use the 2 setting) gently stream in the whiskey and continue to mix everything until fully blended.
  • Enjoy over ice, preferably with a friend, preferably today.

Dark and Stormy Cookies

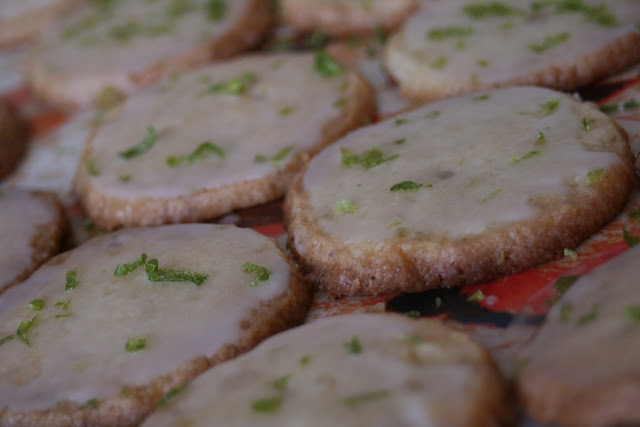
I love a nice spicy ginger beer, something that leaves a lingering heat in the back of my throat.  Now pair the spicy ginger beer with a nice dark and spicy rum and a touch of lime and I will be there.  A dark and stormy is a perfect drink at pretty much any time of year – in the winter it’s got that kick from the ginger beer warming you from tip to toe and in the summer serve it with a big glass of ice and it’s insanely refreshing.  I’ve always been a little bit obsessed with the dark and stormy –  maybe it’s because i’m just obsessed with that gingery bite and the warmth of the rum.  But I do know that more than anything since that first sip of dark and stormy I’ve wanted it as a cookie –  not too sweet an with a nice crunch.  Never did I imagine this.

I created these cookies on a whim – they had been germinating in my head for a VERY long time but the timing was never quite right.  I couldn’t find the right base recipe or I was out of ginger, there was always something missing.  And then, this year I signed up for the Great Food Blogger Cookie Swap (you can sign up to do it next year here) that Julie and Lindsay organized – a monumental collection of bloggers coming together to pack cookies in boxes and ship them all around the country was a perfect excuse to do what I wanted to do – try recipes and make dark and stormy cookies!  So I did what any responsible adult that grew up in a household of cooking will do, I called my mom.

I asked for a recommendation as to what sort of base to make while flipping through my copy of Cook’s Illustrated Cookbook and came across a recipe for Glazed Lemon Cookies – a slice and bake that looked easy enough and that I had all the ingredients for (win).  So I threw the recipe out there – what if I used this recipe and swapped out some flavors for others, did Mom think it would work?  She said yes and then goodbye in rapid succession (she had to go to the farm for turkey time).

So, without further ado – Dark and Stormy cookies inspired by my tendency to be a bit of a lush and encouraged by a great many people along the way.

Dark and Stormy Cookies
Adapted from the Cook’s Illustrated Cookbook recipe for Glazed Lemon cookies and the glaze recipe for Cornmeal-Lime Cookies from Flour by JB Chang.


Cookies:
3/4 cup sugar
1 Tbs grated Lime zest (about 1 lime)
2-3 Tbs finely minced candied ginger
1 3/4 cup flour
1/4 tsp salt
1/4 tsp baking powder
12 Tbs unsalted butter – cut into 1/2 inch cubes and chilled
1 large egg yolk
1 Tbs good ginger beer (Reed’s has a great spice, or Barritt’s if you want to stay classic)
2 Tbs dark spiced rum (I adore Kraken – there’s an octopus on the bottle but it also happens to be awesome)

Glaze:
1 cup confectioners sugar
2 Tbs rum
1 Tbs ginger beer
Zest of one lime (optional)

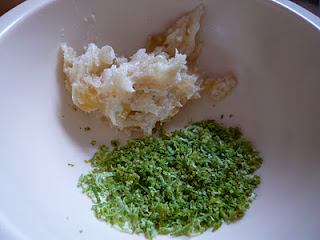
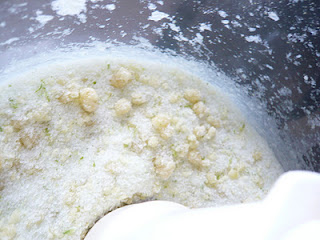
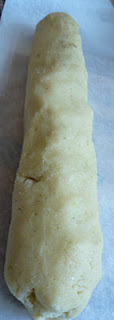
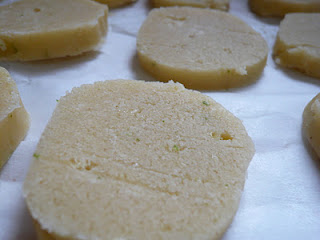
In a food processor combine the sugar, zest, and ginger, pulse until the sugar looks a little damp – about 7 pulses, this will be a little bit sticky.  Add the flour, salt, and baking powder to the sugar mixture, pulse until fully combined – about 10 pulses.  Add the butter cubes and pulse until the whole thing looks like fine cornmeal – 15 pulses should do it.  In a small bowl mix the egg yolk, ginger beer, and rum together until fully combined, pour this into the food processor, run the processor for another 20-25 secs until the whole mixture starts to come together in a ball.  When the dough has come together turn it out onto a parchment lined counter and gently knead whatever loose flour is still a bit loose into the dough.  Form the dough into a log 12-14 inches long by 2 inches wide.  Wrap this log in parchment paper and stick in the fridge for two hrs or up to two days, on the inverse if you want to cool your cookies quickly you can also stick this log in the freezer for 45 mins – but be careful with this as it can get far too firm if left too long.  Once the cookies have firmed up, preheat  your oven to 375 degrees Fahrenheit and pull the cookies out of the cold place.  cut the cookies into 3/8 inch wide rounds and arrange them on 2 baking sheets about an inch apart, they don’t spread if they have firmed up enough in the fridge.  Bake the cookies fro 12-16 mins, mine took twelve, rotating the pans halfway through baking so that they are on different shelves of the oven and back to front.  When the cookies have golden brown edges and have puffed a bit in the center they are done.  Pull them from the oven and allow the to cool completely.

For the glaze mix the confectioner’s sugar, rum, and ginger beer together in a small bowl, the mixture should be quite runny.  Line the counter under your cookie racks with parchment paper.  Using a  pastry brush paint the glaze onto the tops of the cookies, in two layers (the first should pretty much soak right in).  While the glaze is still liquid sprinkle lime zest on the tops of the cookies, only do this if you are eating the cookies that day or else the lime gets a bit overpowering.  Now go and share these with someone who loves rum and ginger as much (or more so) than yourself.  they will say thank you.