Dairy Free Pumpkin-Pecan Scones


Hello! I’m back and this time WITH SCONES. I’m sorry I know I’ve been absentee for two months (Ah!). I’ve been busy – I got a new job (two actually) that I think about a lot and my summer has been, well, a bit lazy. I haven’t been cooking so much. But, today marks the beginning of fall. So a new season means a fresh slate, and pumpkin, and apples, and nutmeg, and all the lovely flavors of fall. I can’t WAIT to get into the kitchen and start cooking, so here’s hoping I can come back here rejuvenated and full of new recipes for everyone. So, here you go, starting NOW: Pumpkin scones – WITHOUT DAIRY.
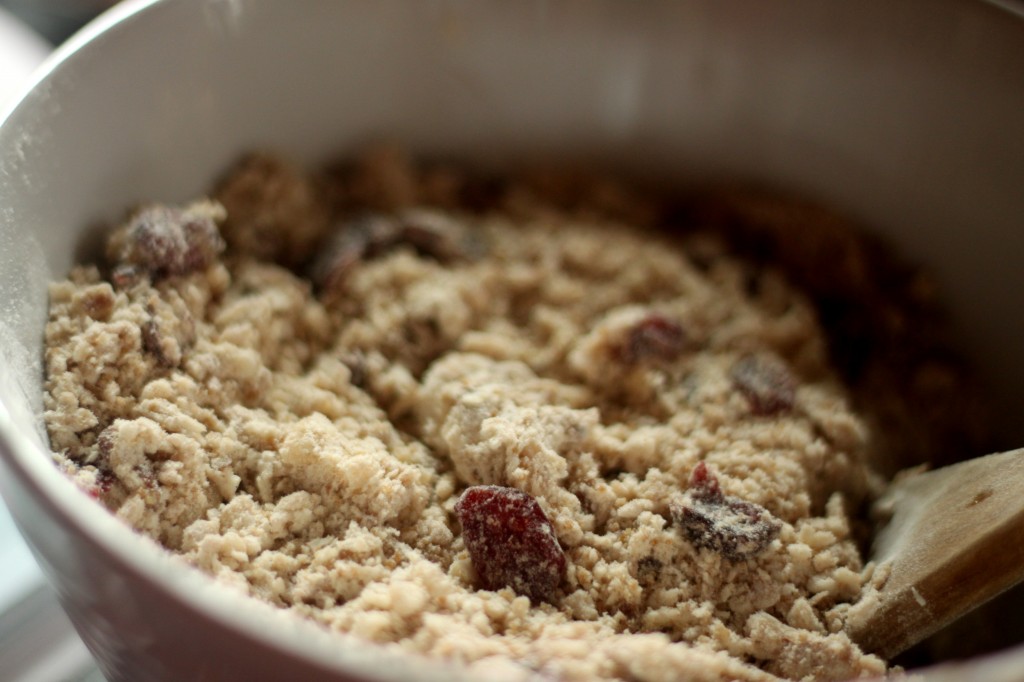
I am as accepting of a challenge as the next person (unless it’s squishy, or slimy, or in general unpleasant – then no, just no). So when BF’s family was visiting recently and his father requested scones made without dairy my mind started whirring, in that way it does.  I started thinking about butter alternatives (which seems like some sort of blasphemy coming from me) for BF’s dad, of course.  I pulled down books I loved, I searched blogs, and I checked my shelves for a semi-solid fat alternative, preferably with a good flavor. And then, I found it.  A can of coconut milk that had been sitting unshaken in my pantry.

I grabbed it almost immediately and started modifying the recipe I was thinking on.  Pumpkin (ok, I used Squash), cinnamon, coconut cream, flour, leavener, sugar – I was good to go.  I’ve been making these scones for about two months now.  They’re a little sweet and with a nice tartness from the berries. I love them.  BF loves them.  BF’s dad loves them.  They are universally loved.  These are best enjoyed with a debaucherous amount of butter, or jam, if butter’s not your thing.
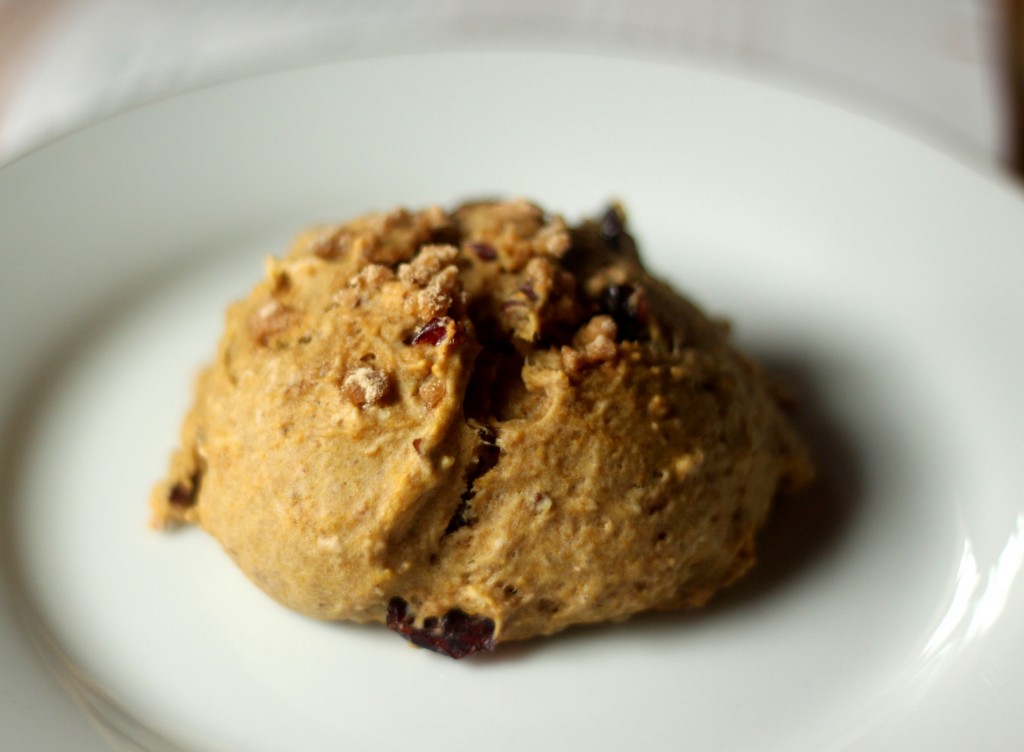
Dairy-Free Pumpkin Raspberry Scones
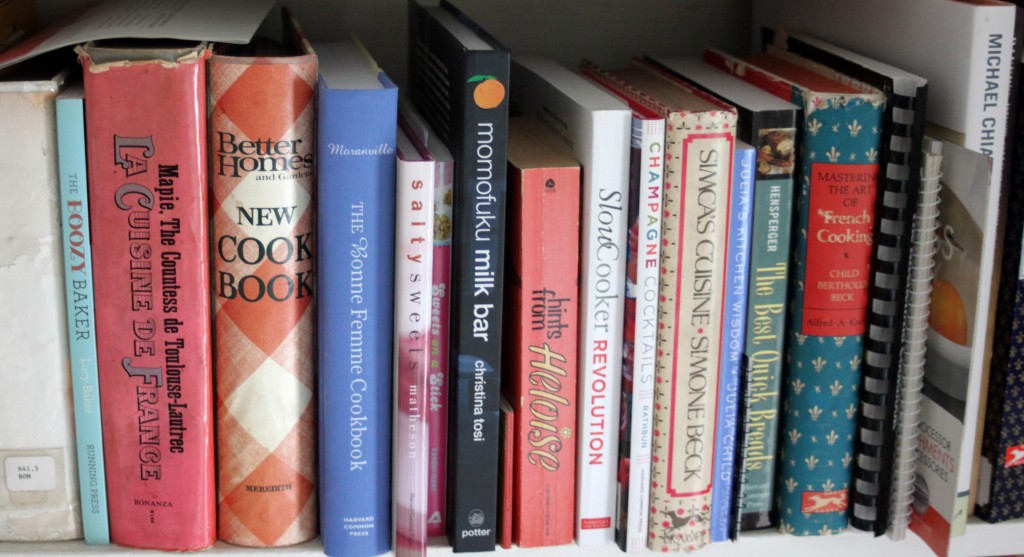
Note: I love these scones and I will continue to make more of them without butter in the future. This recipe is adapted from one in The Best Quick Breads by Beth Hensberger, which is a book I can’t recommend highly enough. Especially if you like sweet breads. It’s perfect.

  • 2 cups flour
  • 3 Tbs dark brown sugar
  • 2 tsp baking powder
  • 1/2 tsp baking soda
  • 1/2 tsp salt
  • 1 1/2 tsp pie spice (or make your own with what you’ve got on hand)
  • 6 Tbs Coconut cream the fatty heavy stuff on the top on a can of unshaken coconut milk)
  • 1/3-1/2 cup fresh or frozen berries, I use raspberries or dried cranberries
  • 1/2 cup chopped pecans
  • 1 egg
  • 1/4 cup coconut milk (use the water from th can after you’ve gotten the cream from on top)
  • 1 tsp apple-cider vinegar
  • 1/2 cup pumpkin puree (I use One-Pie Squash, because it’s my favorite and canned in Maine from Maine pumpkins)
  • Cinnamon-Sugar
  • 1 egg gently beaten (for brushing the scones with)
  • Preheat the oven to 400 degrees Fahrenheit and line a cookie sheet with parchment.
  • In a medium bowl combine the flour, brown sugar, baking powder, baking soda, salt, and spice. Mix until evenly combined.
  • Cut in the coconut cream – the mixture will look a little loose, it’s ok go with it. The nice thing about using coconut cream here instead of butter is that it doesnt require the labor that butter will to cut in. you should just be able to stir it with a fork and get nice little bits of fat.
  • Mix in the pecans.
  • In a small bowl (I usually just use a two cup measure) combine the pumpkin, coconut water, cider vinegar, and 1 egg. beat this with a fork until it comes together.
  • Add the wet ingredients to the dry and stir to combine. Mix until everything just comes together.
  • Fold the raspberries in, gently.
  • Using a large cookie scoop, spoons work too, measure out the scones (I use a 2 oz cookie scoop, it makes my life easier). Place the scones on a cookie sheet 1 to 1 1/2 inches apart.
  • Brush the tops of the scones with the beaten egg and sprinkle with cinnamon-sugar.
  • Bake the scones for 20-25 minutes, until the tops are slightly golden and a toothpick comes out clean.
  • Serve these warm. With a smear of butter and coffee. They make a great afternoon snack later, too!
  • Enjoy!

On My Shelf: The Joy of Cooking

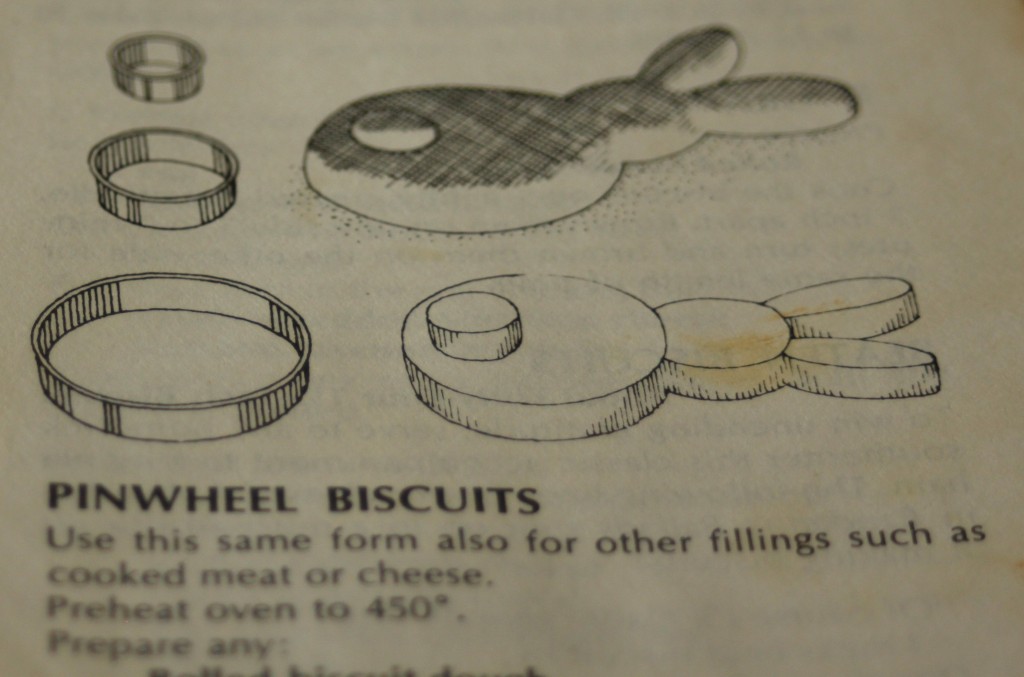
When I was little we didn’t have many cookbooks – we made a lot of family recipes and cooked from books that were more familiar to us than the furniture, they were books that had been in the family for a long time.  One of those books we reached for most frequently was The Joy of Cooking.  I don’t remember which volume it was that we owned but I remember the weight of it in my hands when I opened it and the satisfying crinkle of the dust jacket whenever the book was moved.

My copy of Joy (as I playfully refer to it) is a library reject that my mom picked up at a library sale.  The cover lacks any glossy coating and any time you put the book down it shoots up a little pile of white dust.  I call this character building, others refer to it as messy, but it’s my Joy.

Joy is now and always will be one of my favorite cookbooks because it never fails; from the basics like a perfectly flaky dinner biscuit to the more complicated things -chocolate truffle cream frosting and almond crusted pork loin Joy has been in my life.  Not only is this a cookbook but it’s a reference book – with useful information like how to create your own spice mixes (I made Garam Masala based on the suggestions here and it was delicious) to the ratios for homemade baking powder or the conversion of eggs to cups it’s all here in one easy to handle book.

My favorite recipes are Spanikopita, Chocolate Truffle Cream Frosting, and Almond Crusted Pork Loin.  Be warned though – Joy is constantly going through new revisions and printings so my copy may not be the same copy you get and thus may not have the same recipes.

Chicken Marsala Ravioli and Mushroom Bake

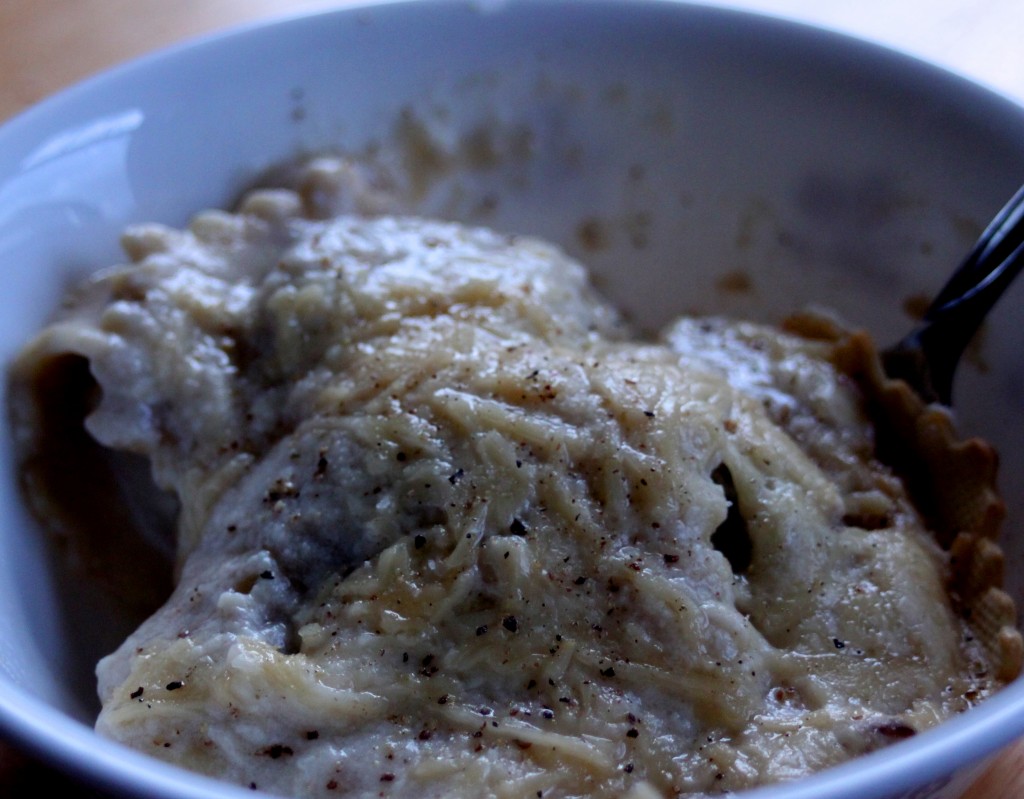
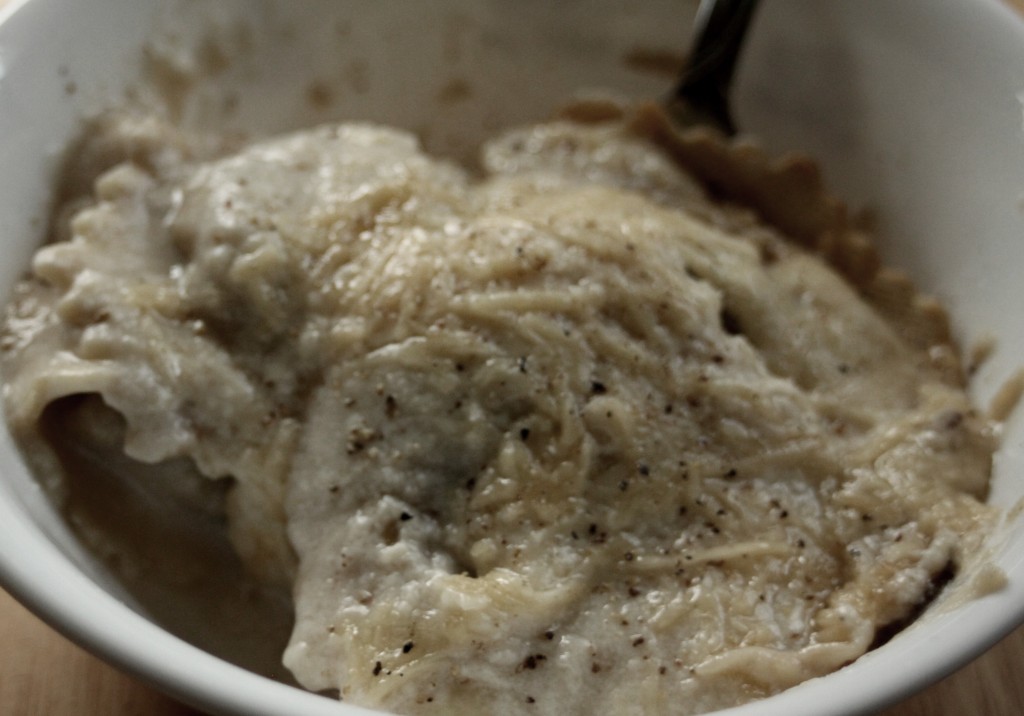
Note: These pics are not my best.  This dish is just NOT photogenic.

Some days I am lazy and want nothing more than some al dente pasta with butter and salt and pepper for dinner.  This is a regular (if moderately unhealthy) meal in my house.  I am always please by it, BF can make it if i’m not motivated, and it’s more or less fail proof.  When Buitoni contacted me about creating recipes for their delicious new refrigerated pastas I just couldn’t say no.  If I’m buying pasta in the refrigerated section of the grocery store I reach for theirs anyway – having fresh pasta is a great an simple way to fancy up a meal that can be a bit boring (pasta, butter, salt and pepper) or bring something that is awesome anyway to the level of extraordinary.
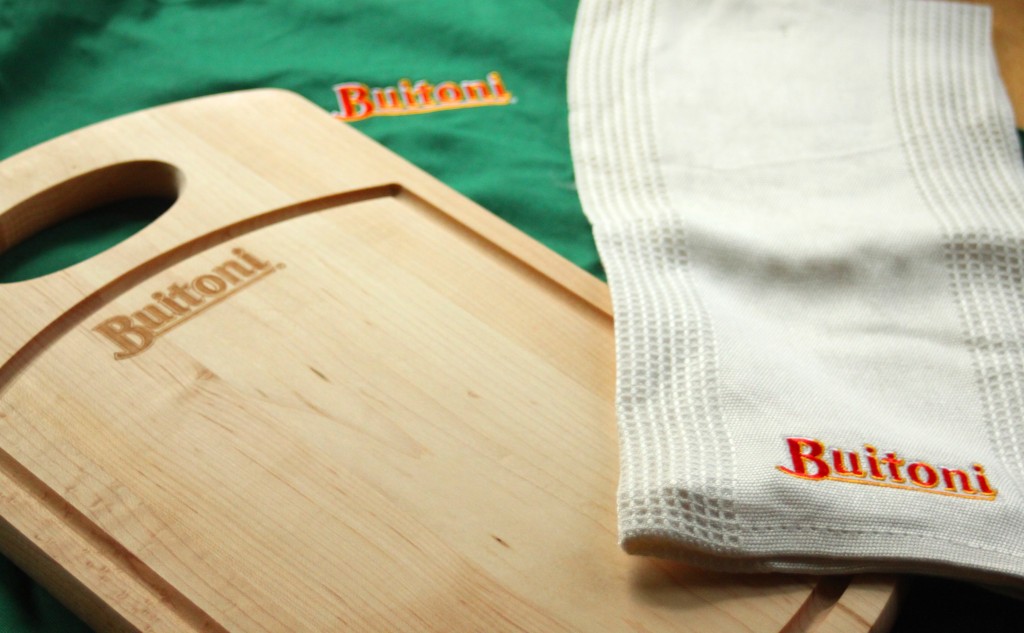
What I was not expecting was a thoughtful package that contained an ultra-soft bamboo fiber hand towel, an apron, and a cutting board from Vermont all artfully branded with the buitoni logo.  Not to mention the pasta – both bf and I fell in love with the pastas we were sent; a chicken marsala one that tasted of earthy mushrooms and sherry and a lovely butternut squash one that tasted like thanksgiving.
After indulging in each pasta doused in butter (I had to sample them to look for pairing flavors…) I started to plot recipes.  Initially I thought I would end up working with the butternut, it was definitely my preferred flavor, but then I had an idea sort of based on an old episode of The French Chef where Julia Child makes a mushroom lasagna with cream sauce.  I wanted to bake with the Chicken Marsala Ravioli, I wanted those complex flavor layers good mushrooms would give me.  I wanted rich heavy cream and butter.  I wanted cheese.  I wanted to make something for colder months because that’s when I most like stuffed pastas – when it’s cold and I want something hearty, filling, and rich. And that is exactly what this is. It is also great with a salad 🙂  Also, make sure to read down to the bottom for a fun giveaway!

Chicken Marsala Ravioli and Mushroom Bake

Note: I don’t care for mushrooms and as I ate my second bowl of this I was exclaiming that I couldn’t believe how much I liked it. Just saying.

  • 2 Packages Buitoni Chicken Marsala Ravioli
  • 1 lb Cremini mushrooms gently cleaned and sliced
  • 4 Tbs butter, separated
  • 2 Tbs flour
  • 2 cups whole milk
  • 2 tbs brandy
  • 1/4 cup swiss cheese
  • 1/4 cup parmesan cheese (or any other hard cheese)
  • salt and pepper, to taste
  • Preheat the oven to 350. Spray the inside of a medium sized casserole dish with cooking spray
  • In a medium saute pan melt two tbs of butter over med-high heat. Once the butter is fully melted and the pan is hot add the mushrooms. Saute the mushrooms gently until they are a nice golden brown all over, 5-7 mins.
  • Add the ravioli straight from the package to the mushrooms and gently toss everything together so it seems evenly mixed. Put the ravioli and mushrooms in your casserole dish and set it aside.
  • In a medium sized saucepan combine the two tbs of butter and the flour. Stir them until they form a paste then let them simmer for one minute without browning.
  • In a second saucepan (I know a lot of dishes, I’m sorry!) warm your milk to hot but not boiling or simmering. Gently stir the hot milk into the butter/flour roux, in pan 1. This will help prevent clumping. If you add the milk cold (like I usually do) you will have lumps; be okay with the lumps or have the patience to sit by while the whole thing cooks over low heat and you whisk it.
  • Add the brandy and mix well. Once the brandy has incorporated into the base white sauce add the Swiss cheese. Stir to combine and allow the cheese to melt into the sauce, it should take a minute or so.
  • Pour the cheese sauce over the ravioli/mushroom mixture. Top this with the Parmesan.
  • Bake at 350 for 25-30 minutes, until bubbly and light brown.
  • Remove it from the oven and let it rest for 5-10 mins. This is a perfect meal to make when your partner is dawdly about coming to the table.
  • Enjoy. Eat this with gusto. It’s pasta, that’s how you eat pasta.


Now the fun part! Did you see that pretty picture up there? That one with the snazzy apron, sexy cutting board and pretty kitchen towel? You could totally own ALL.THOSE.THINGS. and I will send you four coupons so you can hunt down and try some of this delicious pasta yourself! Just leave me a comment telling me what your favorite way to eat ravioli is. I will give you until July 13th to get your comment in. I like mine with a rugged red sauce if it’s ricotta filled or with a browned butter-sage sauce if it’s butternut squash. 🙂

Disclaimer: I was provided this pasta and the kitchen goods free of charge in return for this recipe/review. All opinions here are my own, I would (and do) buy this pasta on my own dime in the future.

Maine Sourced Granola

This is a celebratory post. It is it my hundredth post here – I feel like it should have shown up sooner and there should be a greater fanfare, but I’ve been busy. I worked really hard and threw an epic beer fest with some absolutely fantastic people, I started a new job (more on that later), and I’ve just been sort of lazy. I know I’m not supposed to admit that here – where I show you pretty pictures of food and make you think I eat like that all the time – but I don’t. Most nights I eat pasta with butter and Parmesan on it or instant mac and cheese. I have plenty of knowledge but a low threshold for motivation. Occasionally that comes out here. This post is about the awesome though, this is a celebration of this little blog – this corner of the internet I have claimed as mine and proudly declared to be KATHY CAN COOK. I’ve covered it in 8-bit sprites, I’ve met some amazing people, and I’ve eaten SO.MUCH.GOOD.FOOD.
This is not me signing off – please don’t think that as I wax nostalgic about how great keeping this blog has been. I’m not giving up on it, at least not yet, I’m not even taking a break. I’m just sharing how loved this makes me feel – and how great it is to have made friends, actual friends, through blogging. That’s what this recipe is – new to me comfort food that is a little bit of home and a whole bunch of love. I made it with my big sister on a Monday afternoon that she’d taken off to hang out with my kid brother and I. It was a perfect leisure activity.
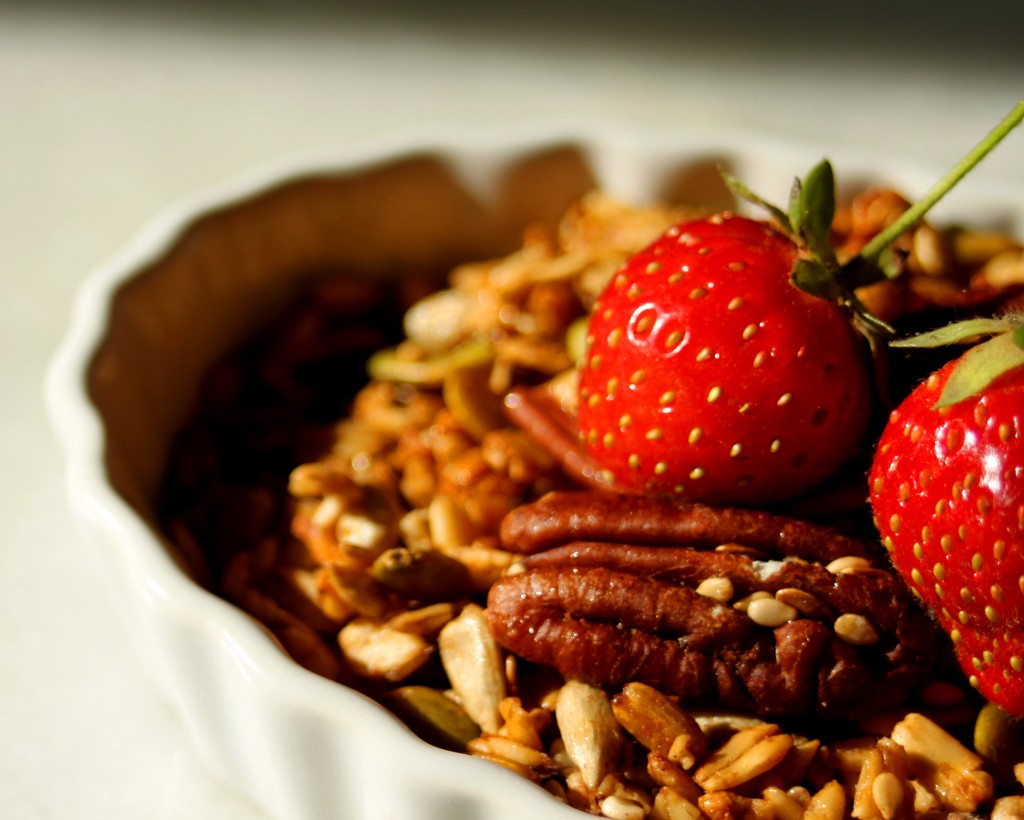
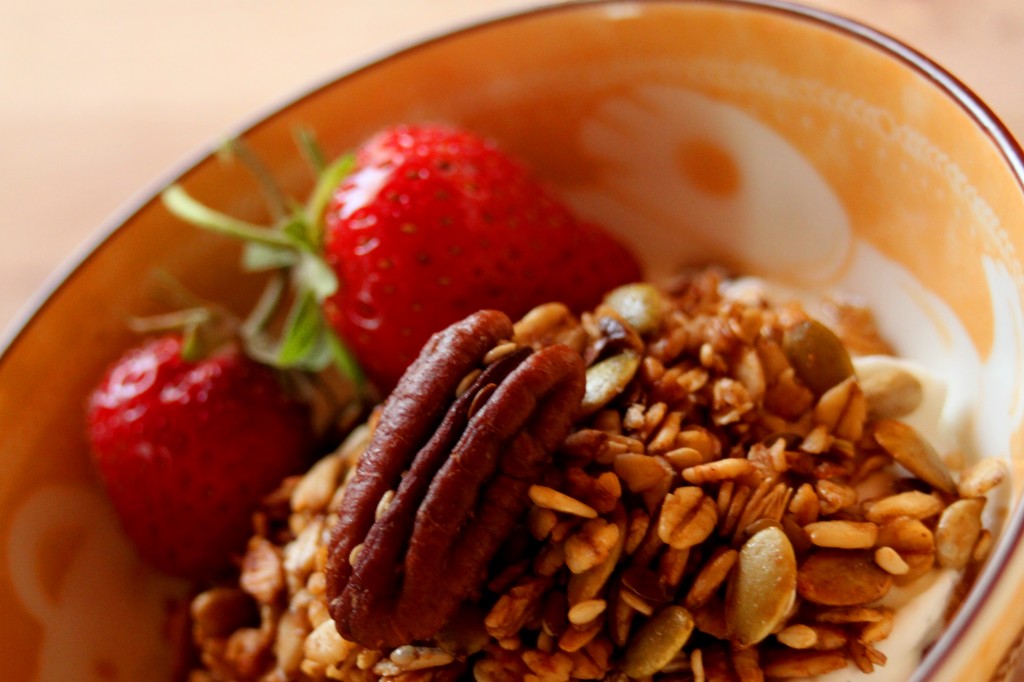
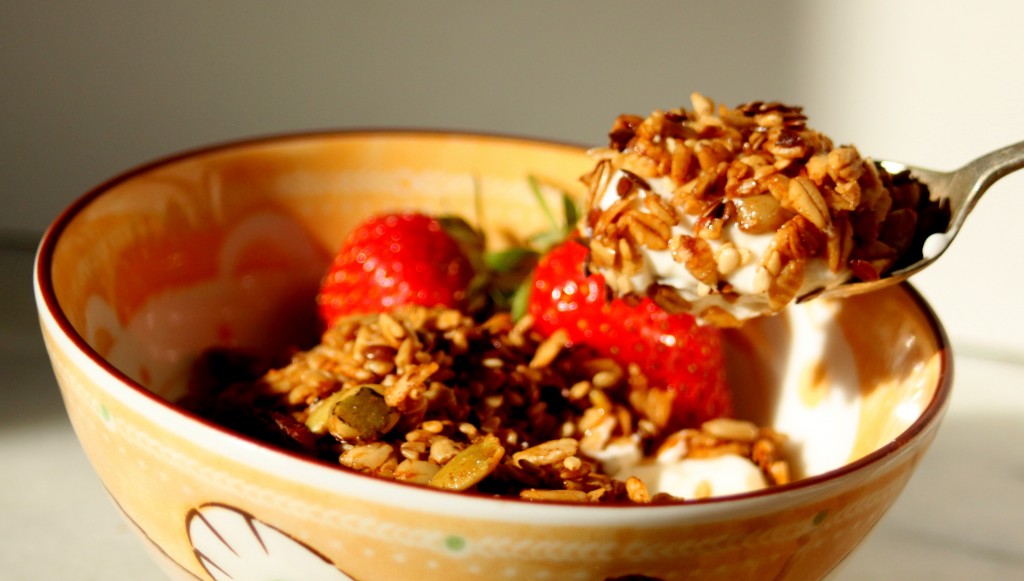
This granola is made with rolled oats sourced from Aurora Mills in Maine, and alone they are great and nutty oats – in granola they have just the right flavor and give while still being chewy and filling. This is not-too sweet granola either, it’s maple-y without being in your face and it holds its own against the tang of Greek yogurt.
I say this granola is home because it is. I feel a special connection to pretty much anything sourced from Maine and even now, when I don’t live in Maine anymore I still refer to myself as a “Maine kid” it gives me a sense of identity and place. I love it – so this granola is a perfect example of blogging for me – it’s new, my first homemade granola (win) paired with some old (a few Maine oats to make me feel like I’m home).

Home-Made Granola

Note: This recipe is loosely based on one from the Cooks Illustrated Cookbook in that I looked at that cookbook for ideas of what ratios to use and what temperature to cook my granola at. Please consider this a broad guideline to create your own granola recipe though, it’s totally adjustable I used the flavors and textures I really liked when I made this, as such you should adjust in your own way. It does make a lot of granola though, so be prepared to share!

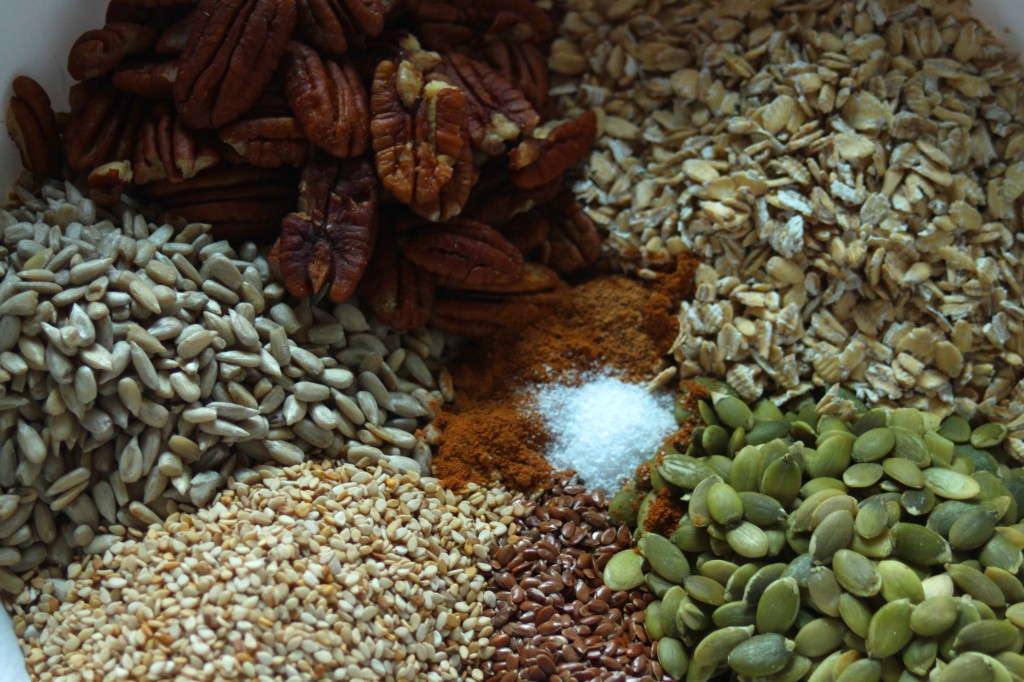
  • 3 1/2 Cups Old Fashioned Rolled Oats – small batch rolled oats will be nuttier and more flavorful
  • 2/3 cup Pepitas, hulled pumpkin seeds
  • 1/3 cup sesame seeds. raw
  • 1/3 cup flax seeds
  • 2/3 cup nuts (I used pecans and they were AWESOME)
  • 2 tsp cinnamon
  • 1/2 tsp nutmeg
  • 1 tsp salt (I use coarse kosher, but go with your preference)
  • 1/3 cup high heat oil (I used peanut, but you can use safflower, sunflower or whatever else too)
  • 2/3 cup Real Maple Syrup (The corn syrup stuff will not work here)
  • 1 tsp vanilla extract
  • 1/4 cup Honey (the honey/maple syrup ratio is really forgiving and can be modified to what you have)
  • 1/2 cup toasted coconut
  • 1 1/2 cup dried fruit (I used cranberries, tart cherries, and candied ginger)
  • Preheat your oven to 300 degrees farenheit.
  • In a large bowl combine the dry ingredients (oats, nuts, and seeds) and mix until evenly distributed.
  • In a small pan combine the oil, honey, vanilla, and syrup. Heat them over low heat until the liquids are fluid and easily mixed.
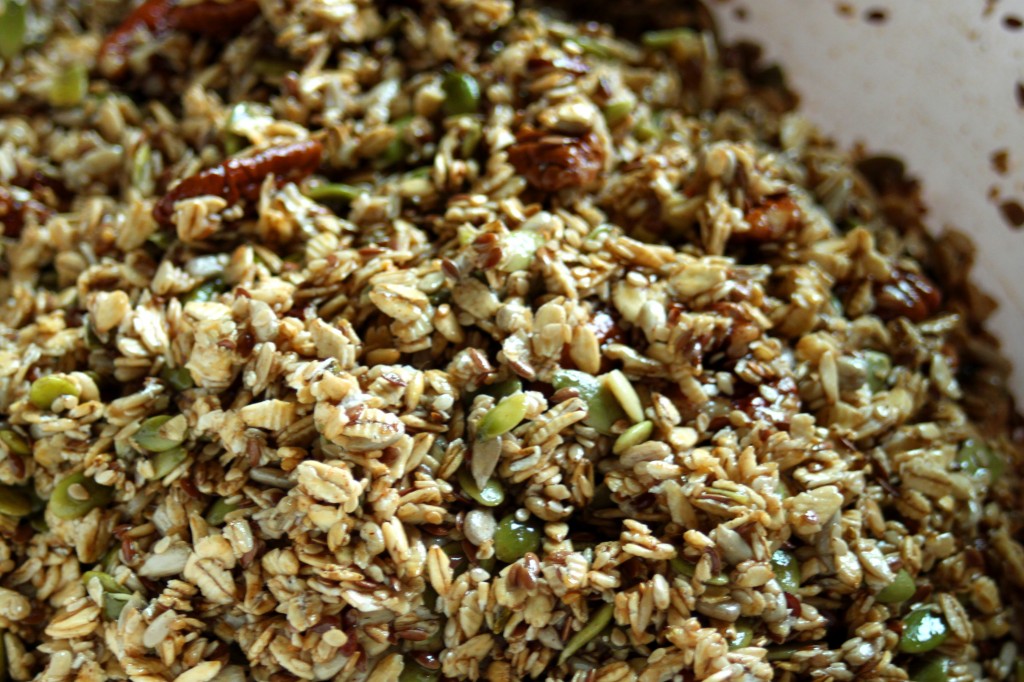
  • Pour the liquid over the dry ingredients and mix until everything is evenly coated
  • Put the granola in a large pan (I use my turkey roaster) and spread it out evenly so it is an even layer (mine was about 3/4 inch thick).
  • Toast the granola in the oven for about an hour – stirring every 10 to 15 mins to prevent large clumping. THe granola will be golden brown and fragrant when it is done.
  • Allow the granola to cool completely, for at least an hour.
  • Mix the toasted coconut and dried fruit into the toasted granola.
  • Eat over your favorite yogurt or by the handful!

What I’m Loving Right Now

I’ve been having a lot of remarkable experiences recently – and not cooking much, so my blog fodder has been light (sorry about that!). But in the meantime let me share some stuff I’ve been loving recently:

Boston Organics – I started getting a Boston Organics box every other week back at the beginning or April, I love it the way no ordinary person should. They have the BEST customer service I’ve ever experienced and the magic of opening my box is like a present. Boston Organics also lets me create a “no-list” so I can opt out of the bitter greens and things I just don’t want in my box (like avoiding yet another pound of carrots). They also have really neat Add-Ons program – this week I have “added-on” 1 pound of strawberries, half a pound of garlic scapes, and 3 lbs of rolled oats from Maine (look for a granola recipe soon). It’s grocery love.

Fat Toad Farm Goat’s Milk Caramel – A friend recently found a Woot deal for Fat Toad Farm caramel and sent me the caramel as a gift (becasue I am super spoiled, thanks Seth!). It is some of the best caramel I’ve eaten in a long time, I want to put it on a wedge of brie with some pears. Decadence.

Hyper Local Brew Fest – This is an amazing event I’ve helped to organize and put together to benefit Sustainable Business Networks of Boston. It’s going to be on Saturday June 16th and I am so looking forward to it. I’ve met and experienced some amazing craft brewers because of it and can’t wait to meet more! Want to come? Grab a ticket here: http://tinyurl.com/hlbrew

The Bloggess – I had barely heard of her before Friday, now I can’t stop. I added her to my Google Reader, have been reading her back posts, and broke down and bought myself a BRAND NEW hardcover copy of her book, something I never do, She is witty, wonderful, and writes about Nathan Fillion (and calls him Nater-Tater, WIN). Go check her out.

Boston Area Beer Enthusiasts Society (BABES) – My friend Kristen runs this great beer group, they meet once a month at Meadhall in Kendall Sq and pair delicious brews and snacks. This month the pairings are a comparison of west coast and east coast beers paired with east/west coast cheeses. It will be FAN-FREAKIN-TASTIC.
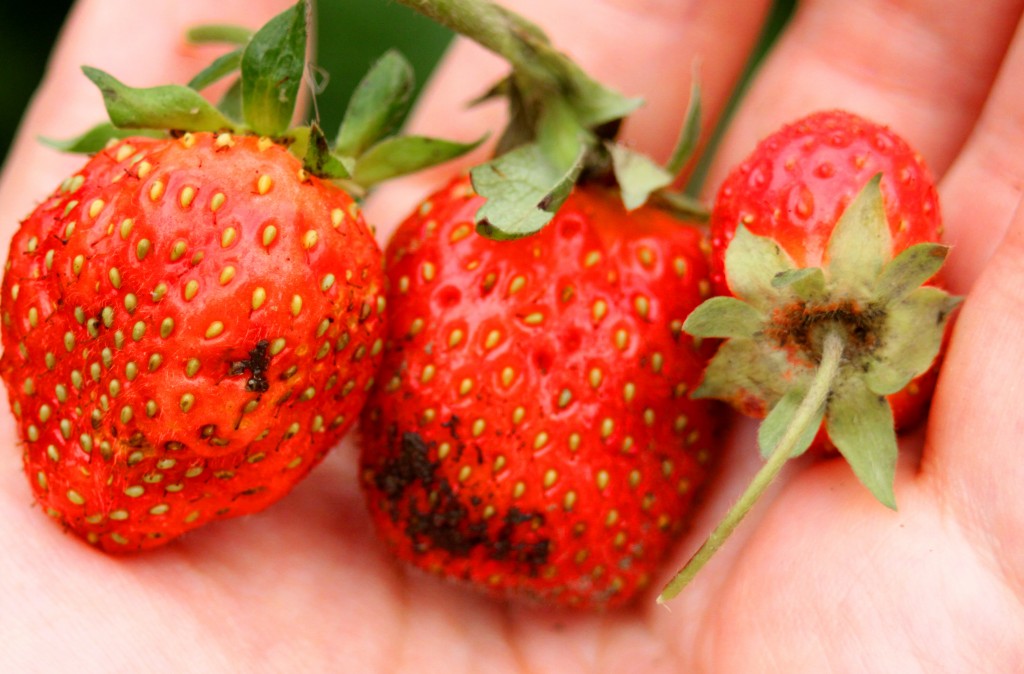
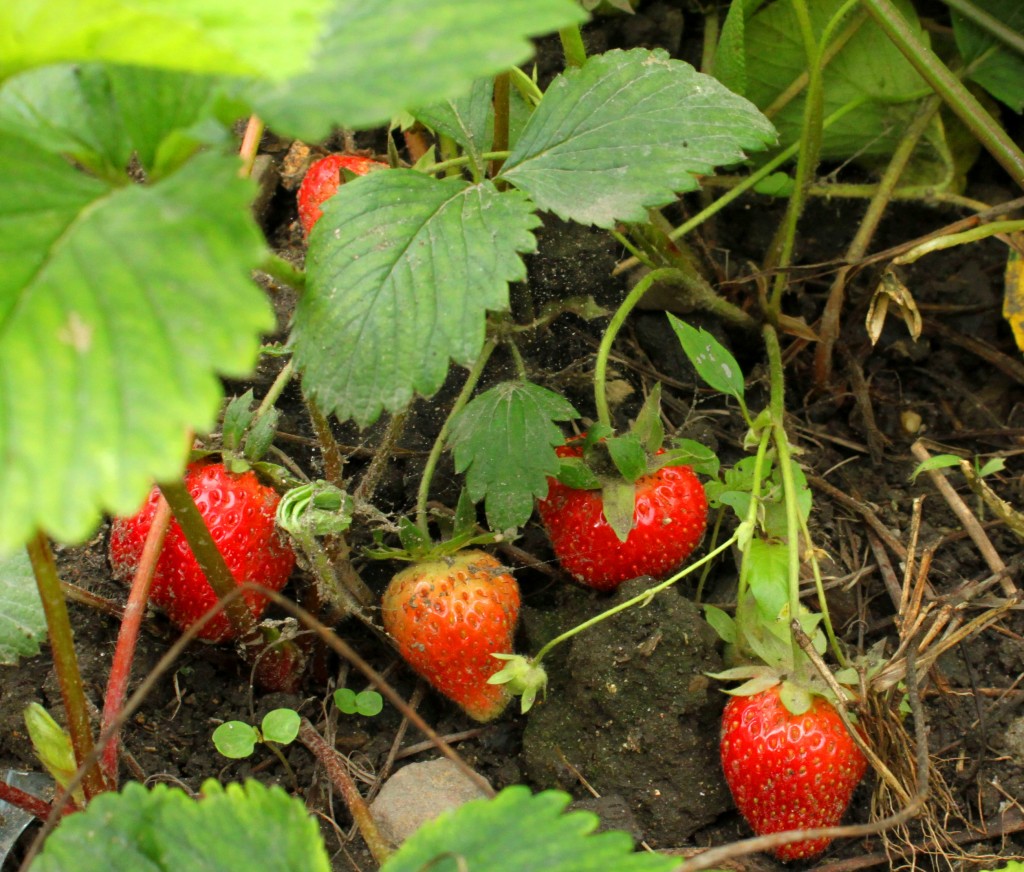
Garden Strawberries – There has been a strawberry takeover of my backyard. I love it. A quarter of the yard is covered in strawberries. I will cut them back after the fruit is gone but until then there are perfect strawberries for munching.

Craft Beer Cellar – I went in here Saturday and it is a magical wonderful space full of well curated craft brews. I wonder if they would mind if I just moved in and hunkered down?

Warm Weather and Sun Dresses – I live in sundresses in the summer, it’s how I roll. I don’t like shorts so an arsenal of good comfortable dresses is key. I’ve been loving the Lace Affair for inspiration and fun sales. I totally got a fun pin-up dress from them which I am going to wear to this little event!

So those are a few things I’m totally in love with. Hope everyone’s beginning of summer is going well and I will be back soon with a recipe, I promise!

Update: I’ve also been watching this video on repeat. It makes me ridiculously happy.