Custard Ice Cream with Mixed Berries

So… Failure in the kitchen makes me horrifically sad.  I nearly start to cry and Boyfriend always has to steal whatever I have deemed unacceptable away from me so I don’t throw it out in a fit of anger.  Most of the time these failures can be attributed to one of two things 1) I got sloppy and missed a step or 2) I was hurrying and just didn’t wait properly.  This failure falls into the didn’t wait category.

When I got home from work and saw that I had missed a UPS package I immediately called them and asked the UPS office to hold it, in the distribution center down the street for pick-up the next day.  Then I googled ice cream recipes for 10 hours, custard, sorbets, fro-yos, sorbettos, gelatos, you name it I was obsessively searching for it on google as a break in for my new Ice Cream Maker attachment for the KitchenAid (otherwise known as Esther).  I found four to try and printed them out for later and trekked home in a downpour.  Did you know there are 3 UPS buildings in a 1 block radius in Watertown?  Neither did I.   I had to go to all of them before finding my ice cream maker and heading home with it to freeze.

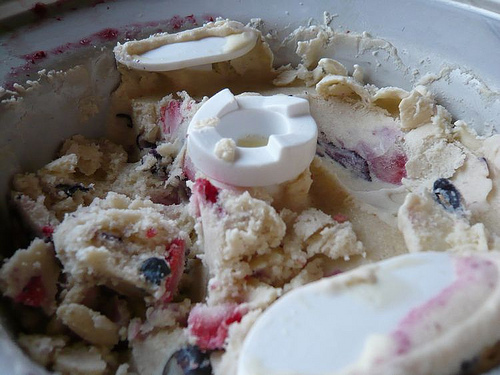
Now: Day 2 Ice Cream Maker is frozen and I can’t find the Ice cream recipes I so carefully weeded through – ANYWHERE.  They’re gone the way of the cooler temperatures so I’ll use the one from the KitchenAid book that came with it, it can’t be that bad right?  And you know in all fairness to the KitchenAid people – it probably wasn’t, the custard base tasted fine and the berries were delicious (like a big kid slushpuppy glazed in Chambord).  But I couldn’t wait and poured the STILL STEAMING custard into the nicely frozen ice cream maker.  Failure.  SO.MUCH.FAILURE.  I turned it on and went to watch 30Rock, nothing happened but some sweat peeing onto the counter.  Sadness.

The next morning it was full of shard of ice – like it had melted and refrozen all wrong.  The worst experience ever with ice cream.  Maybe take two will be better?  Keep your fingers crossed for me because those stillettos of ice were just not pleasant melting in my mouth.  Not at all.

Custard Ice Cream with Mixed Berries
Note: I’m sure with patience I can actually make this ice cream.  Now if I only knew where I had put that down.

Mixed Berry Mash
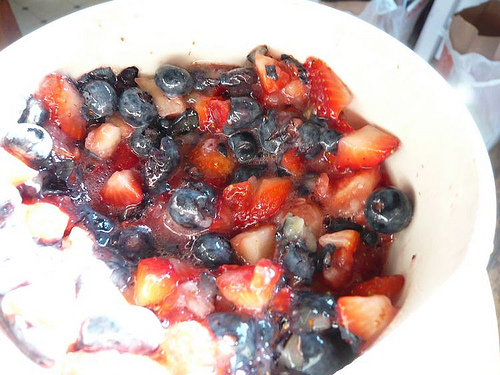
2 cups mixed berries, I used raspberries, blueberries, and strawberries
2 Tbs of your favorite liquor or brandy (I used Chambord and it tasted EXACTLY like a blue slush puppy)

Mix the berries together in a bowl with the liquor and mash them a bit with a masher so they’re all about he same size and some of the juice has been a little pressed out.

Custard Ice Cream Base
2 1/2 cups half and half
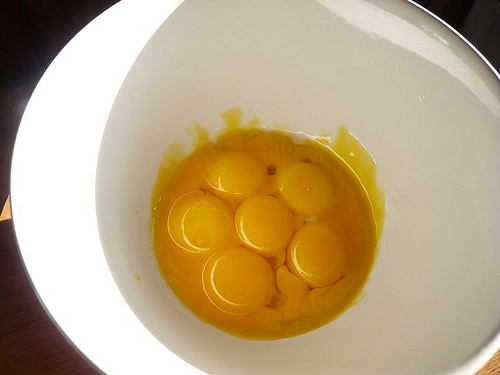
8 Egg Yolks
1 cup sugar (I used 2/3 cup)
2 1/2 cups whipping cream
4 tsp Vanilla
1/8 tsp salt

In a saucepan heat the half and half to just bubbling – stirring often to keep it from scalding.
Mix the sugar and egg yolks together in a medium bowl stirring until they’re thick and ribbony, about 2 minutes of mixing by hand.  Mix in the half and half to the eggs and sugar slowly while continuing to stir to keep the eggs from scrambling.  Stir the whole thing until it has set and is a light yellow color.  Return the egg, sugar, and half and half mixture to the pan and bring to a second simmer stirring constantly until it starts to lightly bubble on the edges – DO NOT BOIL IT. Put the hot custard base back into your mixing bowl and gently stir in the vanilla, salt and cream.  Cover and do what I was too impatient to do and CHILL IT.  Watch a movie, have a nap, go to bed then make breakfast.  AFTER cooling put the chilled custard in the bowl of your ice cream maker and follow the instructions.  Add the mixed berries at the very very end just in the last two or three twirls of the ice cream maker.  And there it is.  I hope you have better luck than I did.

Blueberry Lemonade

If you add blueberries to anything I’ll try it.  I love them, the tart blue globes that burst on the tongue when you close your mouth and the sweetness that is rich and perfect at the same time.  I think this love of the blue berry goes back to my childhood on a big blueberry field in Maine.  We had lowbush wild blueberries and come late July you could find me with my hand in the berries covered in the purple juices that flowed from them.  It was so satisfying to run down through those huge fields trying to keep my balance while leap-frogging rocks and stonewalls to find the best patch of berries.  The “best” berries were always dark blue, nearly black, and in clumps that i would squat down by and eat before my sister, older and more sensible as she was, would pick them to make pie – more berries made it to my mouth then my picking vessel (they still do for that matter).

I love to eat the berries popping them one at a time off the bush but I hate to rake them.  Raking seems like so much work to me with those awkward handles and the sharp tines which I would poke into my ankle or calf – drawing blood and attracting the early morning mosquitoes.  And the hours, the hours of a raker are awful, getting up at 5 or 5:30 and raking until 11:30 or 12 when the berries got to soft from the heat and would turn to instant jam in your bucket, I really hated those hours and always dragged my feet.  Not that it mattered I was a terrible raker, regardless of when I started.  I mangled berries and never got to the bottom of the bush, leaving behind more berries than I raked at times and raising the ire of whichever family member was heading up the crew to work the fields (usually an aunt or a cousin).

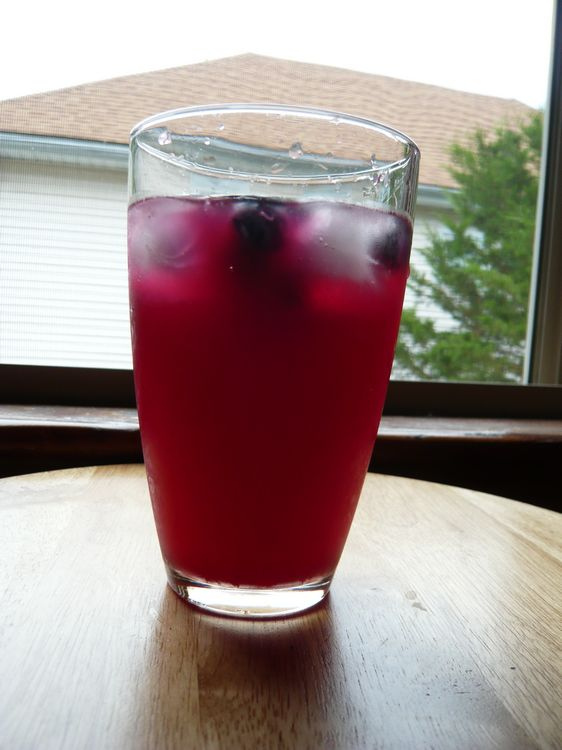
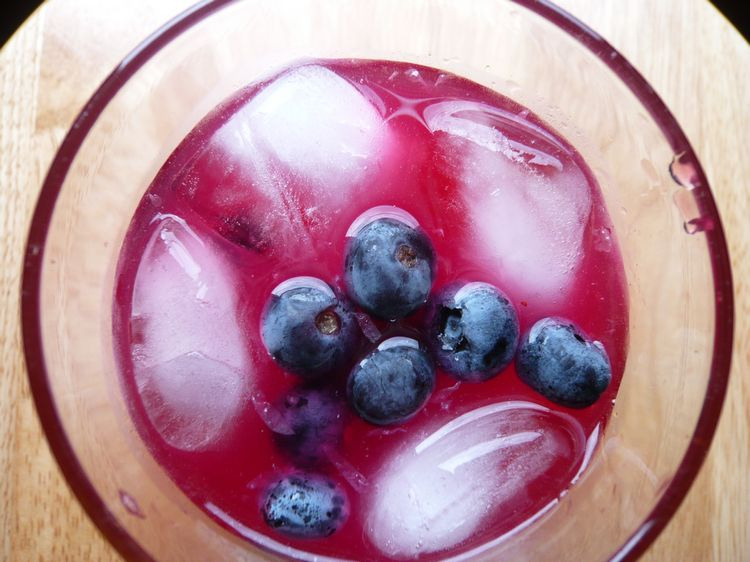
But in Maine it’s blueberry season again, and the rakers are starting to get all of the juice and fruit to Wyman’s or some other processor to be cleaned and eaten for the sake of everyone.  The Maine blueberry is my pride and joy – leading to great arguments with my friends from New Jersey who claim they have the better blueberry, we both know they’re just looking for something for Jersey to claim as it’s own.  It’s addictive and it you drop it in lemonade it’s just heavenly.  The tartness of the lemon and the sweetness of the blueberry marry so well that this is something everyone should have in their refrigerators all the time, especially if they are like me and obsessed with lemonade but are always disappointed with the store brand they come across.  I found this to be especially refreshing over the past week or so while we all baked in the greater Boston area.

Blueberry Lemonade
Note: If you want to add ice cubes to this lemonade please count them as water or it will be too watery.
Adapted from The Betty Crocker Cookbook circa 1950

1 1/2 cup lemon juice (about 9 lemons squeezed)
1 1/2 cup sugar
1 1/2 cup water
Rind of 3 lemons, cut into eighths
1/2 -3/4 cup blueberries, fresh or frozen but they better be from MAINE

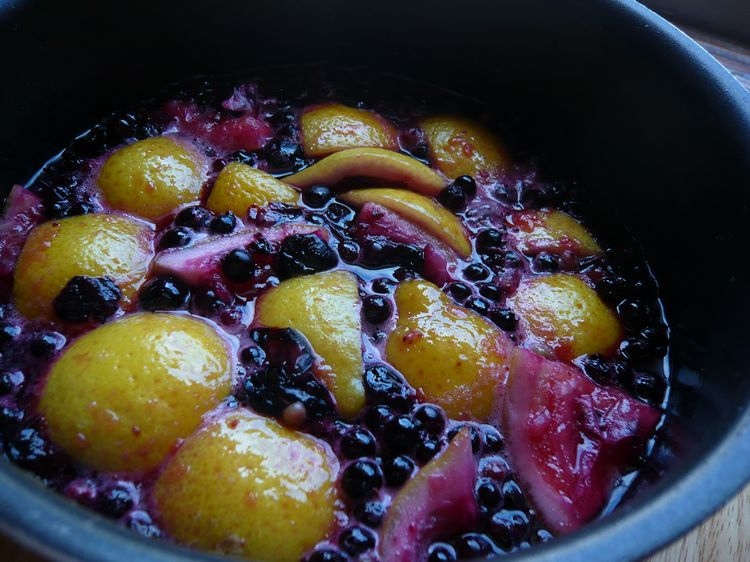
Combine the water, sugar, lemon rind and blueberries in a saucepan and just bring them to a boil.  Boil for 3-4 minutes, creating a flavored sugar syrup. Strain the syrup into a medium bowl trying to press the juices out of the lemon rind and berries as you do.  I used a vegetable steamer for this – it worked perfectly.  Add the lemon juice to this mixture and you will have your lemonade base.
Using your syrup as a base add water to flavor, I like 1 part syrup to 3 parts water.  To dress it up use club soda or a lemon sparkling water for that refreshing tingle.

Eli’s Lentil Soup

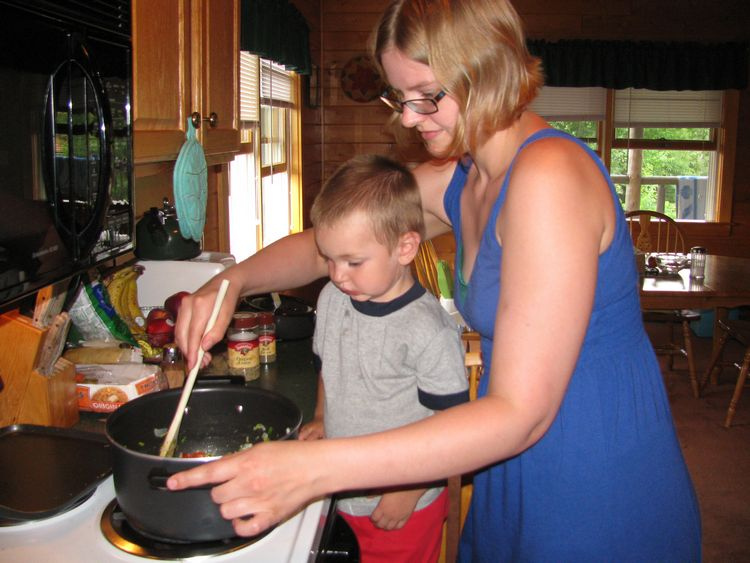
Last week I went on vacation in Maine.  It was wonderful, we were in Greenville (the head of Moosehead Lake) and spent the better portion of the time reading and cooking (well I was reading and cooking, Boyfriend was video gaming and coding).  But the best part of the vacation? We were with our best friends from college and their two year old son (our godson).  Their Son, named Eli, loves lentils so I brought some and one night for a quick meal we made this soup.

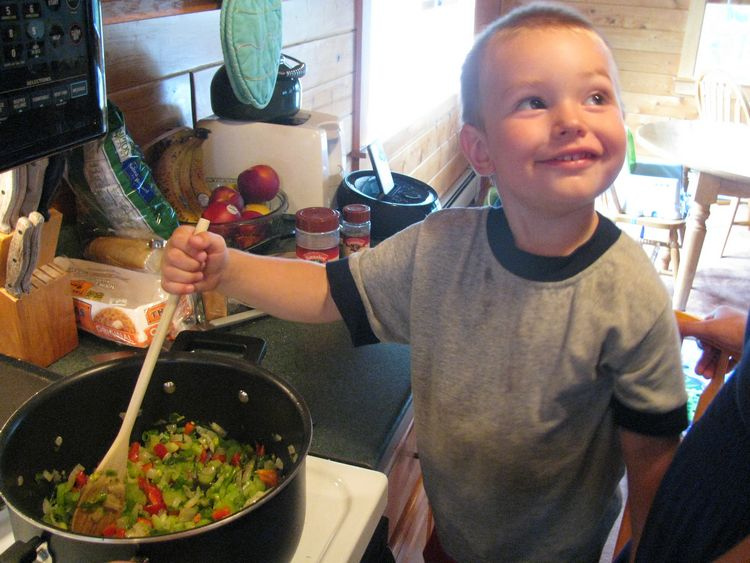
My favorite part of lentil soup is its simplicity.  The satisfaction of creating a soup with onions and cheap dried goods is truly awesome, and all I can think is that I really should have played with lentils sooner than March of this year.  The simplicity of Lentil Soup really leant itself to this particular kitchen adventure because Eli wanted to help which meant more time making sure chubby adorable fingers don’t get burned and less time checking measurements and trying to be exact.  So we made soup, best friend did most of the heavy cutting and Eli added all the spices and did some key stirring for us.

Eli loved the soup so much he ate 3 bowls worth (about 2 cups).  Which I took as a rave review, because let’s face it – there’s no one pickier than a 2 year old with discerning tastes.  The adults in the house followed the soup up with instant gratification yellow cake with chocolate frosting (delicious)  and a viewing of The Fifth Element.

Eli’s Lentil Soup
Note: I think this would translate well to a cold soup with an addition of about 1 more cup of stock or water to thin it a bit.  Also the sausage/bacon in optional and its very easy to substitute in vegetable stock for the chicken for a vegetarian soup.

1 medium onion chopped
2 cloves garlic minced
1/2 cup celery chopped
1/2 red pepper chopped
1 small zucchini (optional) chopped coarsely
2-3 slices thick cut bacon cut into small strips or 2 oz sausage skinned and broken up (optional)
4 cups stock (vegetable of chicken works)
2 cups water (add another for cold soup)
2 cups lentils (I use 1 cup French and 1 cup red but it doesn’t matter)
1 tsp oregano
1/2 tsp basil
1 tsp thyme, or use 2-3 fresh stalks for an even better flavor.
Salt and Pepper to taste

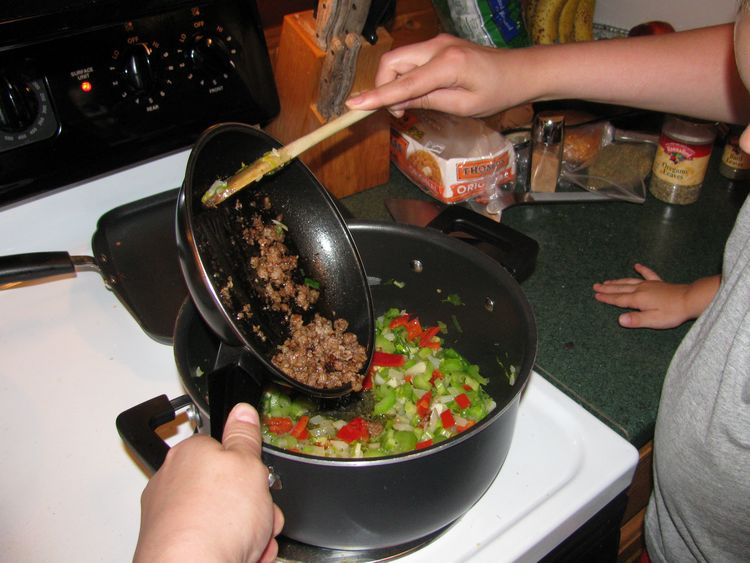
If you are using it cook your bacon or sausage in your soup pot.  Add the onion, garlic, and celery to the pot and saute them for 2-3 minutes (until the onion is transparent).  Add the pepper and cook it until soft (another minute or so).  Add the stock and let it come to boil, don’t get impatient here the boiling stock makes a difference.  Once the stock has come to a boil add your lentils, stir, and leave it alone for about half an hour.  Go have a dance party with your godson to Lady Gaga, because that’s what the cool kids are doing.  Check the soup if the lentils are starting to soften toss in the zucchini and cook for another 10-15 mins or until the zucchini is cooked through.  Serve the soup!  This is delicious with a big slice of crusty bread to dip in it.  YUM!  Enjoy your soup and then let the dance party continue, maybe with some music from GLEE!

Summer Panzanella With Pea Tendrils and Prosciutto

Summer has descended upon the fair city of Boston, with steamy streets and humidity that makes you want to hide somewhere air conditioned ALL THE TIME.  With this heat comes the need to NOT COOK.  I want to avoid turning on the oven like nothing else, I haven’t baked in weeks and poor boyfriend has been living on things that are flash fried or grilled.  And while that’s fine, in theory, I’m still learning about grills (mainly how to light mine… who knew that charcoal was such a tricksy creature?).

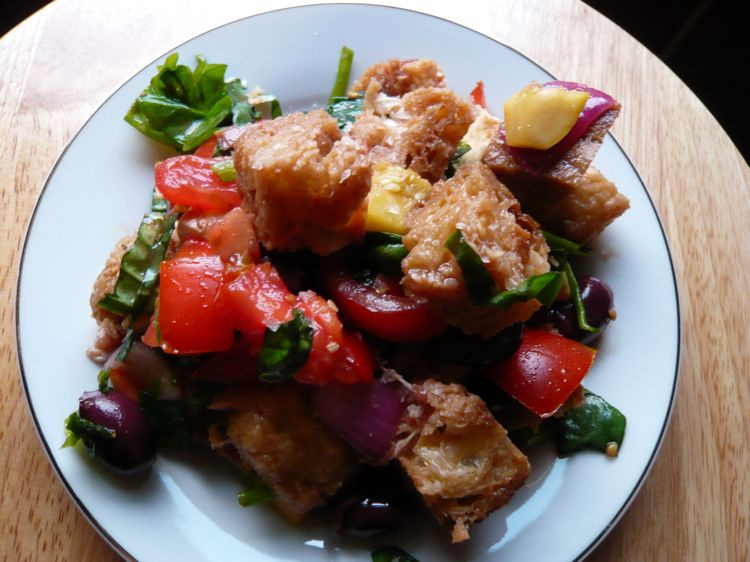
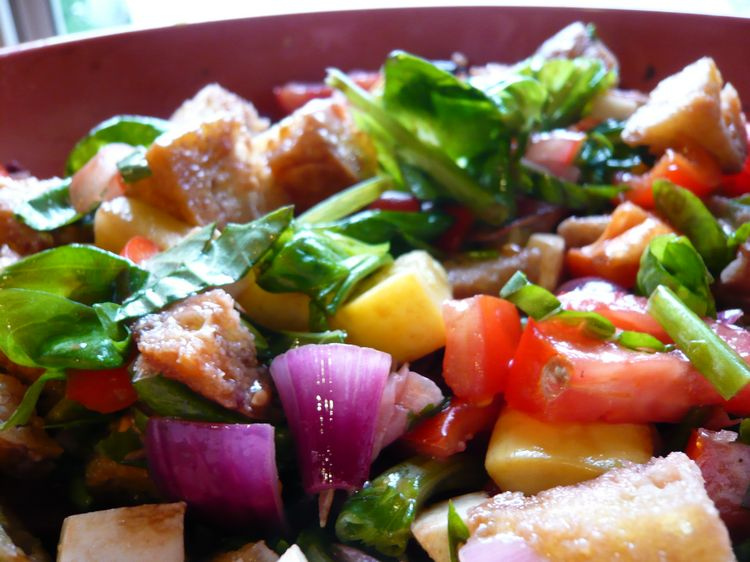
So in my efforts to “beat the heat” and not break the bank I have been focusing on cool easy to make foods in my kitchen, sweet potato hash, ice cream (boyfriend got ma a late birthday gift of an ice cream maker, he must love me), and this Summer Panzanella.  Now panzanella is something I’ve been wanting to try out with simple enough seeming directions and always a mouthwatering looking image at the end.  This first attempt was no exception.  And the best part? I spent maybe 10 minutes standing in front of the stove – total.  Most of this salad was just chopping and tossing.

A bit about my sordid past of lusting after panzanella:  One day while in college and living in dorms equipped with full cable access and the food network I saw the sweater-vest clad Micheal Chiarello prepare this “rustic” bread salad in his perfect studio kitchen with the promise that anyone would love it, well – given that they don’t have a gluten allergy.  I promptly forgot about panzanella until about three years later when boyfriend’s father went to California on a business trip.  The night before as he began to fall asleep on our *awesome* fold-out couch he asked if we wanted anything from Cali – I asked for a cookbook that captured some local cuisine (honestly thinking independent published and intimate a la The Enchanted Broccoli Forest ).  He brought me Micheal Chiarello’s Easy Entertaining*.  And there was a picture of the same panzanella I had seen him make years earlier on the food network *swoon.*  I immediately googled Panzanella recipe and came up with about a million (ok there were probably only 500 results) among the results were Smitten Kitchen, Cheap Healthy Good, and epicurious (though they have everything so that’s not really surprising).  I decided to tuck it away and forgot about it AGAIN for a year.  Which brings us to this my first (perfect) attempt at panzanella.

Summer Panzanella with Pea Tendrils and Prosciutto
Inspired my Micheal Chiarello and the frickin’ heat
Note: All ingredients can be omitted at your preference except the tomatoes and bread as they are really the foundation of the whole salad.  Unless otherwise specified I chopped everything to a 1 1/2-2 inch cube

1/2-3/4 loaf of day-old  crusty bread (I used Ciabatta)
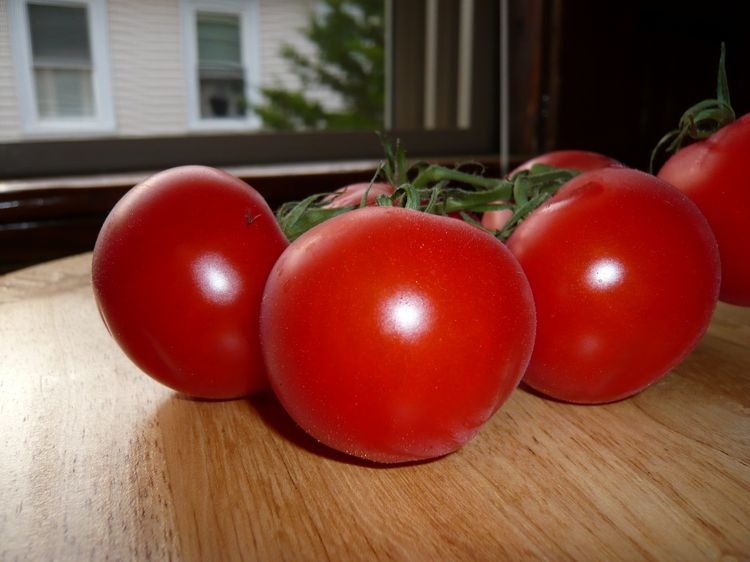
3-4 vine ripe tomatoes or 1-1/2pts of grape tomatoes halved
1/2 pound pea tendrils
1/4 pound prosciutto
1 Sweet pepper (Red, Yellow, or orange whatever color you’re feeling)
1 Zucchini
1 Red Onion, a Vidalia or scallions would work as well though not as pretty
3-4 cloves garlic, minced fine
1/3 Pound Kalamata Olives, whole
1/2 Pound Mozzarella, chopped to 1/2 inch cubes
10 large leaves of basil, chopped into fine strips** (you can use more if you really like Basil)
Olive Oil
Balsamic Vinegar (I used blueberry because it’s delicious, but any decent quality balsamic is fine)
Flaky Sea Slat (if you have it it’s prettier but regular is fine)

Toast the bread cubes with a healthy glug of olive oil in a pan until they’re crispy -about 5 minutes then put them in a big bowl and set it aside.
Saute the red onion, zucchini, and garlic in the same pan with a little more oil (if you need it) – another 5 minutes and add those to the toasted bread.
Chop all the other ingredients and pile them in the bowl, see why I had you get a big bowl now?  Add about 2 glugs of olive oil (2-3 Tbs) to the salad and gently toss, drizzle balsamic over the whole thing (1-2 tsp) and gently toss again.
Let it sit for about 20 minutes in the fridge before eating (I like this salad better cold).  Watch something ridiculous like Invader Zim (so GIR can teach you how to make waffles!) or an episode of Micheal Chiarello’s show on Food Network, make fun of the sweater vest, please.
Serve this salad with a light sprinkling of sea salt and a basil sprig on the side (because it’s pretty).

*A note about this book – he asks that you have very specific very expensive ingredients fully stocked in your pantry at all times (something I JUST CAN’T GET BEHIND) so I looked at the pictures and planned to make the recipes in a more wallet friendly fashion.

**I find the easiest way to do this is to roll the basil leaves up in a tight cigar and slice from leaf tip to stem,it’s called chiffonade!

Brown Sugar Sugar Cookies

I like it when friends have birthdays, there are parties and there are excuses to bake.  We’re not talking about simple things like chocolate chip cookies either, but the things that you save for special occasions – ganache filled cupcakes and hand dipped chocolates, cookies that require the maker to first brown then strain the butter before even adding other ingredients. These cookies are like that, complicted, delicious, and for a birthday.

The first time I made these I vowed to NEVER MAKE THEM AGAIN not because they were too much work, but because they didn’t leave the kitchen.  I barely got them out of the oven when my boyfriend grabbed one off the cooling rack yelling, “Hot hot!,” and ate it with a taunting grin.  I know I should be greatful he realized they were hot, mostly I was irritated that I barely got one before they disappeared.  But the one was a magical cookie, deep rich caramel tones that were fluffy and didn’t even threaten to pull out my million-and-one fillings – I’ll take two please (or would have if there had been two to have).

So here I was asking said friend what she wanted for her birthday and she asked for these, of all things.  I tried to dissuade her, “Are you sure you don’t want gingersnaps?” I wheedled.  She was steadfast and I was stuck covertly making delicious, decadent cookies hoping my TF2-playing-boyfriend didn’t notice the kitchen bustle.  He did.  I lost two cookies before I was able to seal them in a Ziploc bag marked “FOR NIKKI DO NOT TOUCH” (admittedly he did get a consolation prize of coconut macaroons, which were fine but nothing to write home (or here) about).

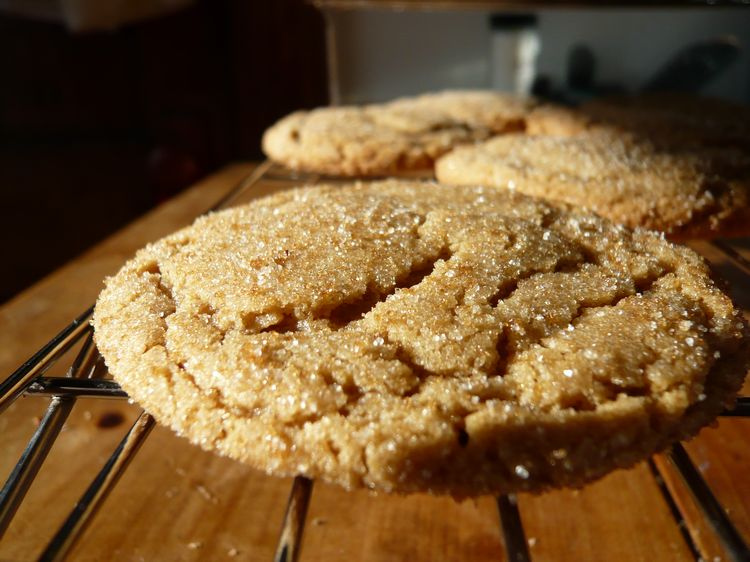
So without further ado, caramelly, rich, crackly infinitly amazing Brown Sugar Sugar cookies.

Brown Sugar Sugar Cookies
Adapted, very slightly, from Cook’s Illustrated

Note: These cookies can be frozen, premade, for later usage and eating (but I would strongly recommend a double batch in that case)

Ingredients
14 Tbs unsalted butter (I use half Salted hlaf unsalted but it doesn’t really matter)
2 Cups packed Dark Brown Sugar
2 Cups plus 2 Tbs All Purpose flour
1/2 tsp Baking soda
1/4 tsp Baking Powder
1/4 tsp Salt (use a little more if you are using all unsalted butter)
1 large egg
1 large egg yolk
1 Tbs Vanilla (it really is neccessary, DON’T SKIMP HERE)
1/4 cup granulated raw sugar (i prefer the raw but don’t go get it especially regular granulated works fine)

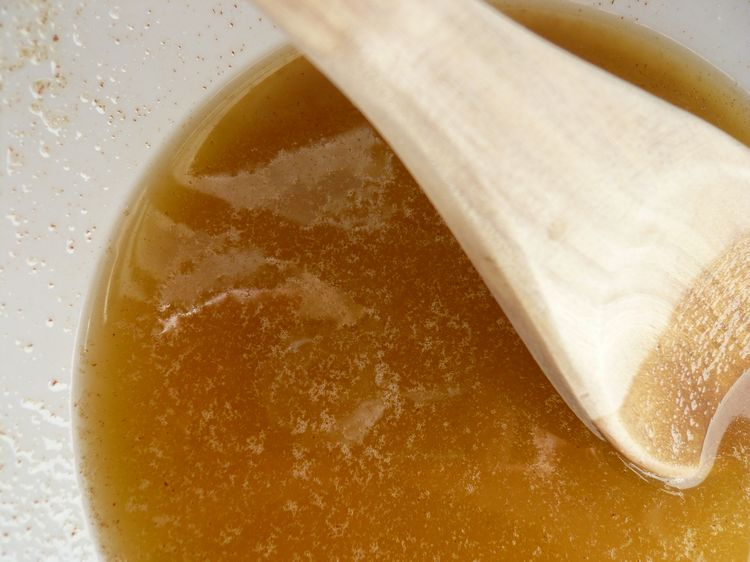
Heat 10 Tbs of the butter in a light bottomed sauce pan over medium until melted and nutty brown, it will smell rich and there will be some solids in the bottom, stir the butter nearly constantly and watch it like a hawk or IT WILL BURN (and that is sad).  Transfer the melted butter to a large mixing bowl and add the rest of the butter to melt.  Let the melted butter mixture cool to room temperture, this should take 10-15 mins.

Place oven rack in the middle position and line cookie sheets with parchment paper.  Mix the raw sugar and the brown sugar together in a small bowl (bowl 2) until even and set it aside, you will use this later to dip the rolled cookies in.

Sift the flour, baking soda, baking powder and salt together into another bowl ( I know bowl 3 is a little confusing try to keep up) and set it aside.

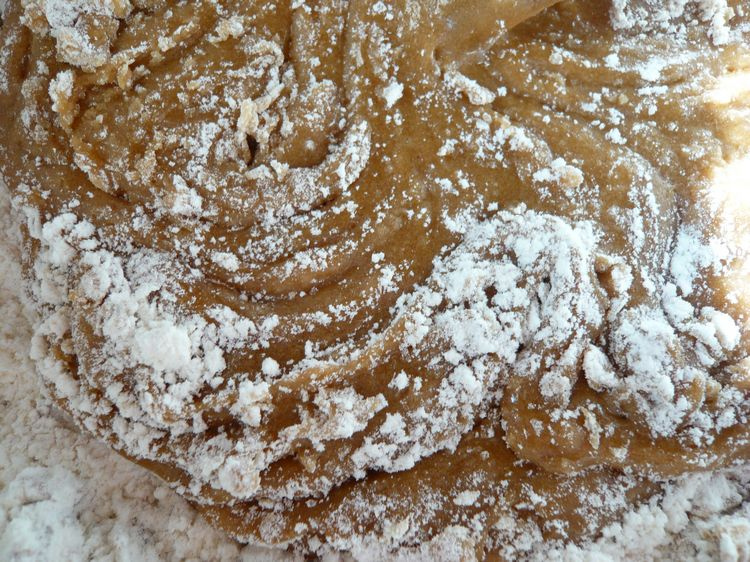
Add the remaining 1 3/4 cups of Brown sugar to the melted, delicious, butter and stir it until there are no lumps 30-45 seconds, it will be a very dark and molasses-y looking mixture -that is OK.  Scrape down the sides of the bowl and add the egg, egg yolk, and vanilla mix it all until fluffy-ish and incorporated, another 30-45 seconds.  Side note: recipes alwasy say “mix until fluffy” when they really mean mix it until eveything is incorporated and it looks a little mor opaque than before, because lets face it – you’re not making whipped cream here. Add the flour mixture (from bowl 3) to the liquids (bowl 1) and mix until just combined ~1min.  This mixture will be a little stiff, that is okay – brown sugar and butter will do that.  Give the dough one final stir and scrape the bowl to check for even distribution.

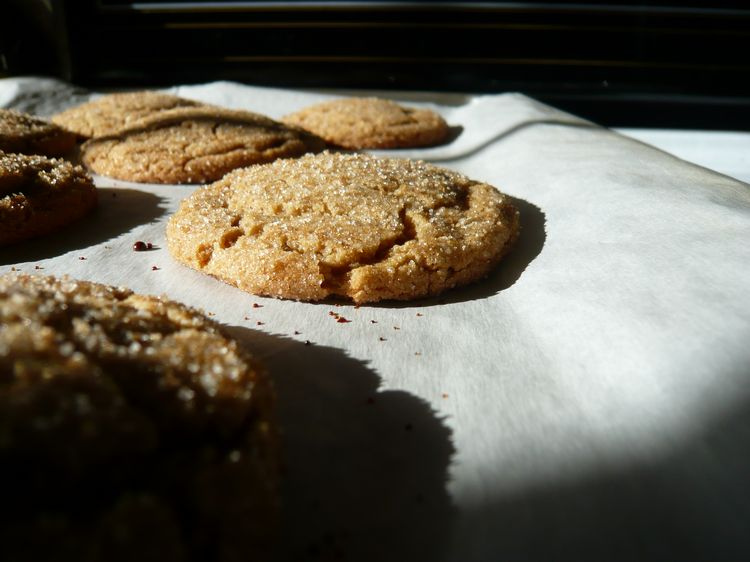
Scoop out the dough in 11/2 to 2 Tbs balls (really don’t try to make these smaller they’re better as a chewy cookie) and roll in in the sugar mixture to coat evenly.  Stick the doughballs on cookie sheets 2-3 inches apart and cook them fro 12-14 minutes.  The cookies will begin to crack on the tops and look a little raw, they’re not.  Also if your cookie is getting dark on the edges its been in there too long and you should maybe eat that one as a tester… you know for the sake of the cookies.

Cool the cookies for 5-10 mins on a rack and hide them a… wait that wasn’t what I meant. 

ENJOY!