I pretty much always have apples or pears in my kitchen, they come in my Boston Organics box almost weekly so there tend to be three or four kicking around at all times. But here’s the slightly annoying thing – I don’t eat much fruit, I’ll grab a piece occasionally, I even went through a fit of eating oranges for days this summer, but in general if I want a snack I will reach for a slice of cheese or a yogurt before i grab fresh fruit. I think part of it is that I just don’t like that first bite. I find it terribly unpleasant to bite into an apple or pear if it is the least bit chilled – I know this makes me an anomaly in the world of fresh fruit eating, but I’m an odd duck that way. So eating fresh apples or pears means a cutting board or at least a bowl and a paring knife. Because, in case you didn’t know, fruit is MESSY guys, juicy and sticky it gets everywhere unless you have a bowl to catch the juice in. But I digress.
So really, you must be wondering why I spend my hard earned money on fresh fruit if I’m not even eating it – I love to bake with it. I love the way really ripe fruit will soften and pool in a jammy bite in a cake or muffin. I am entranced by any apple-spice cake combination. And a baked good with apples or pears in it is ALWAYS a crowd pleaser, for whatever reason. SO I finally figured I would share this recipe with you all. This is a recipe I’ve been using since I first picked up Flour over a year ago – I make it once a month or so (seriously, I’m obsessed with this cake) sometimes I add berries or whatever fruit I have lying around. I tweak it, I mostly follow the recipe, I coddle it. It makes my apartment smell like heaven. And, mostly, it makes a great accompaniment to coffee at breakfast or for that mid-afternoon pick-me-up.
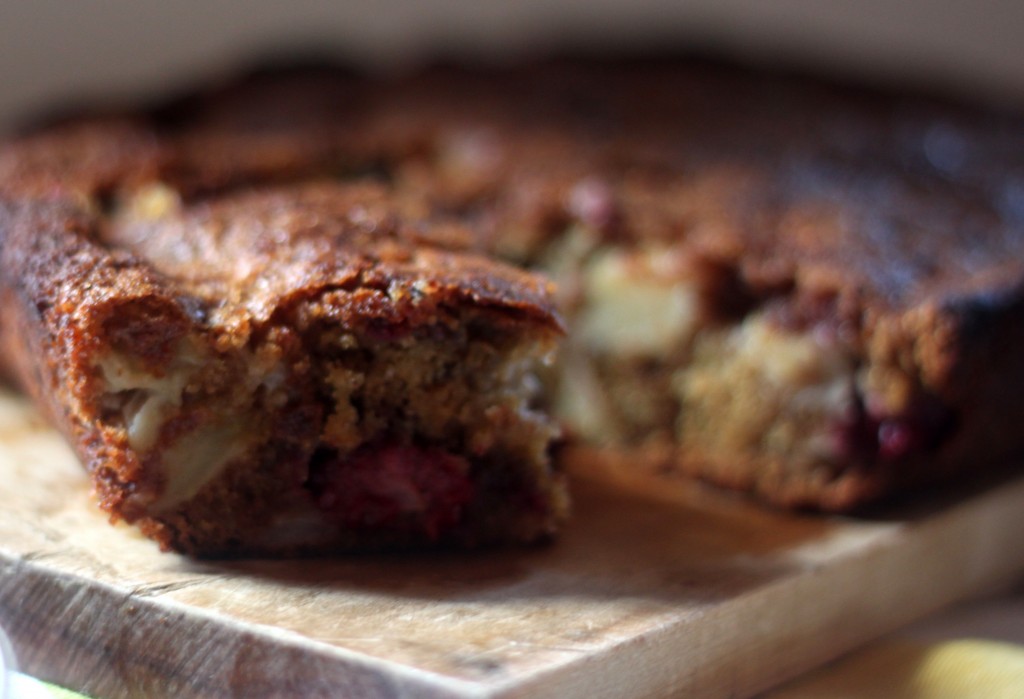
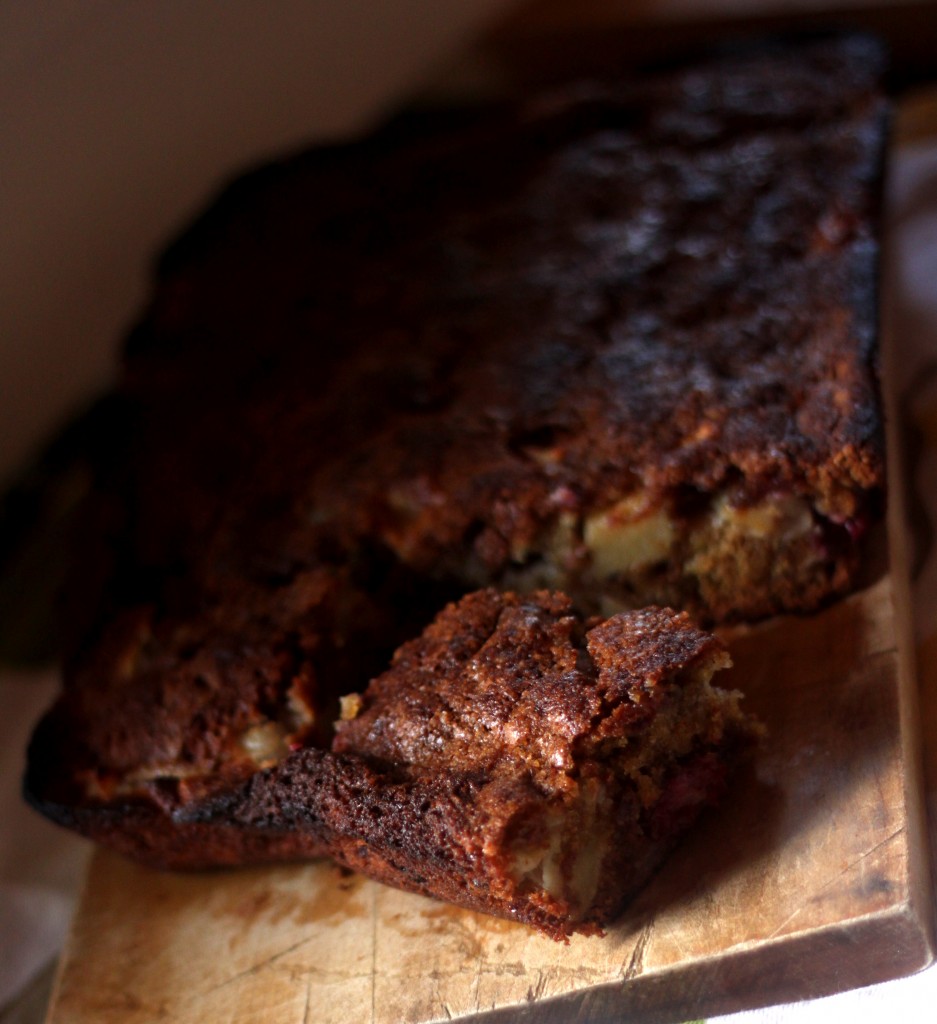
If you like my facebook page you will see this cake as my header there. That picture has been there for a while and I’ve had at least three readers ask for that recipe, this is it. The difference between this cake and that one – I overcooked this one a smidge, but it’s still delicious. I also think this cake would be improved by a little drizzle of your favorite caramel sauce, because, decadent. I really do love the pear here though, it’s sweeter and cooks down a little softer than the apples so you get a little internal texture variation, which I love. If I were making this for only myself I would kick up the ginger a bit more as well, give it a little more zip, but BF isn’t the biggest ginger fan so I try not to overpower all my baking with it.
Apple-Pear Snacking Cake
This recipe is adapted from Joanne Chang’s Flour Cookbook. I’ve had this cake in the bakery and homemade – and it’s perfect in both places. I am looking forward to Flour, Too so much I may offer to beta test a few recipes for Ms. Chang, that way I don’t have to wait! Ha!
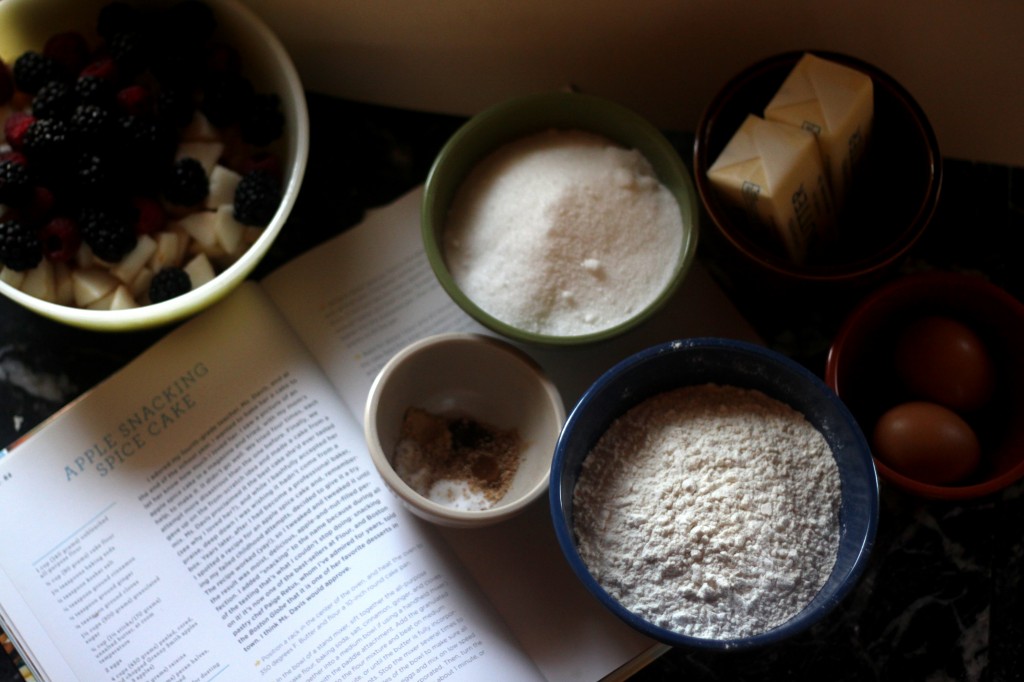
- 1 3/4 cup flour
- 1 1/2 tsp baking soda
- 1/2 tsp kosher salt
- 1/4 tsp cinnamon
- 1/4 tsp ground ginger (I think some finely minced crystallized ginger would be good here too)
- 1/8 tsp ground cloves
- 1/8 tsp fresh ground nutmeg
- 1 1/2 cup sugar
- 3/4 cup unsalted butter, softened
- 2 large eggs
- 4 cups of fruit (at least 3 cups should be apples/pears the other cup can be berries or whatever you’ve got on hand)- peeled, seeded and chopped
- Butter and flour a 10″ round or square cake pan, I use an 8″x11″ rectangle and it works perfectly. Preheat the oven to 350.
- Sift the flour, soda, salt, and spices into the bowl of stand mixer fitted with a paddle attachment. Add the sugar and butter. Combine at low-medium speed until the mixture resembles coarse crumbs.
- Add the eggs one at a time and mix until fully incorporated. Turn the mixer on high and beat the batter until it is light and fluffy, about a minute. I find the batter a bit thick here, but don’t worry too much about it.
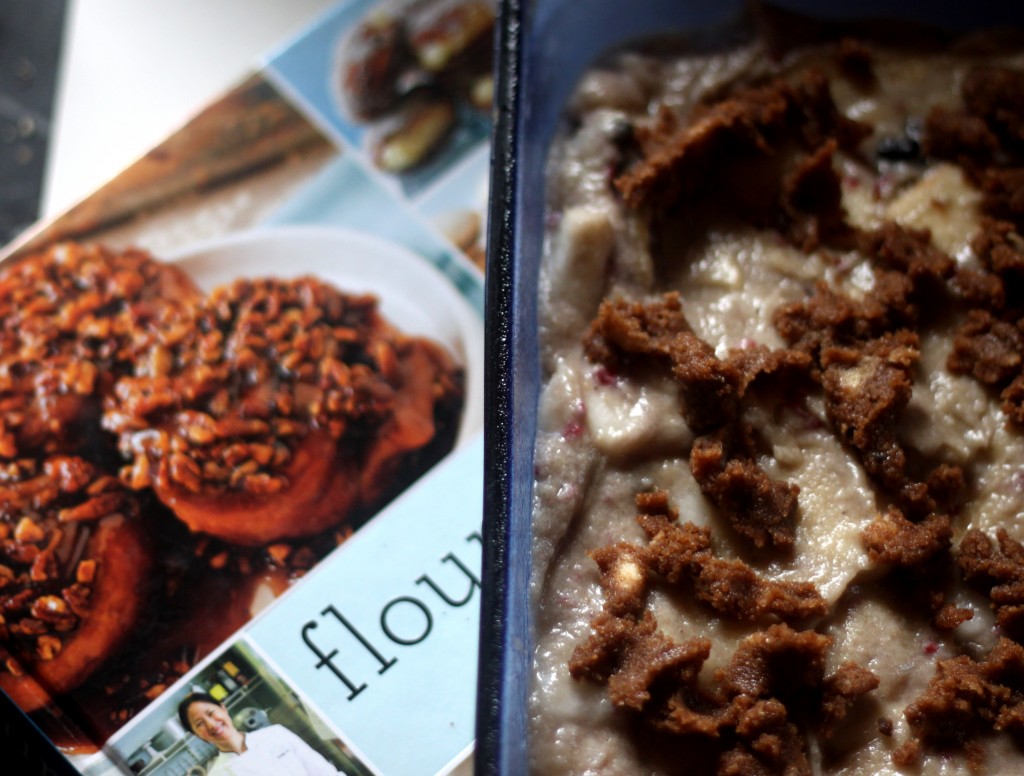
- Using a rubber spatula, fold the fruit into the batter gently, making sure there is a bit of batter on all the fruit. The batter will be quite stiff and look like it’s mostly fruit – it should, that’s a good thing. Add the batter to the prepared pan and even it out gently.
- Bake for about 1 hour in the 10″ pan and check it at 45 mins in the 8″x11″ one. When it is done the cake with be a nice golden brown and will fell firm when pressed.
- Cool the cake completely in the pan on a wire rack (or somewhere that air can get around the WHOLE thing).
- Serve the cake with a dusting of powdered sugar or a drizzle of caramel sauce.
- I find this is a cake best eaten slightly warmed, the fruit gets all jammy and fragrant and it’s much more like a warm hug.
- Serve with coffee. As breakfast, to your favorite people.

