Monthly Archives: May 2010
On Breakfast and Scones and Coffee
1 t vanilla
1 egg
2 c whole wheat flour
2 t baking powder
½ t salt
1/4 c cold butter, cubed
2 T sugar
1/4 c candied ginger, diced
lemon zest from 1 small lemon
Preheat oven to 425 degrees Fahrenheit. In a small bowl, whisk the yogurt, vanilla, milk and egg together until frothy. Set aside.
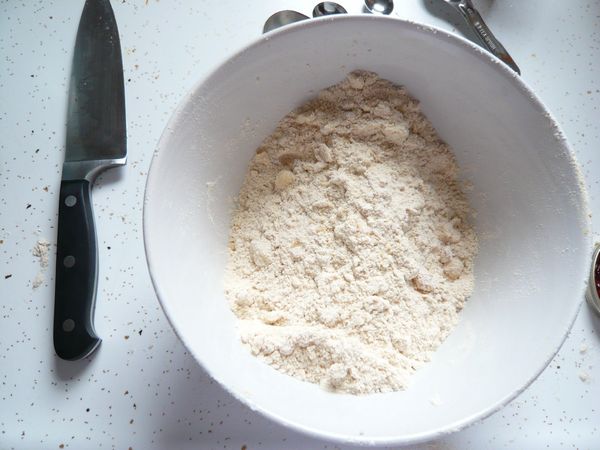
In a large bowl, mix together the flour, baking powder, and salt. Work in the butter with your hands until the mixture resembles small peas. Add in the sugar, zest, and ginger and stir in the yogurt mixture, reserving about a teaspoon for later. Mix gently with a fork until the dough comes together.
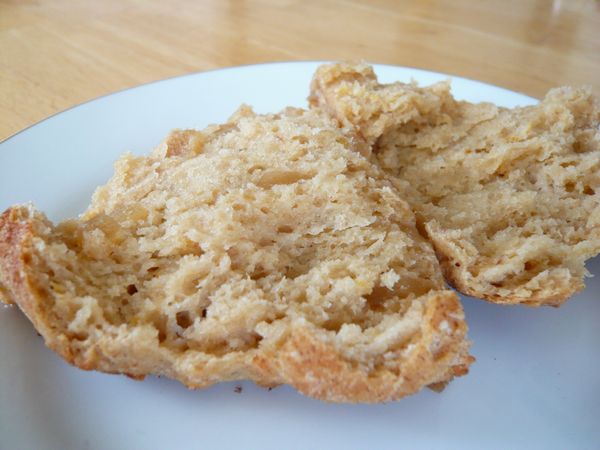
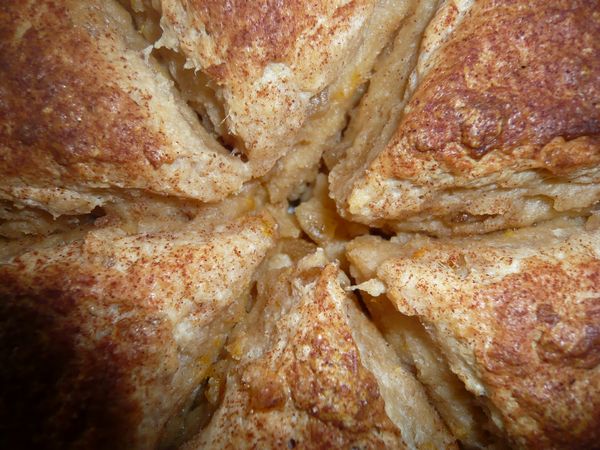
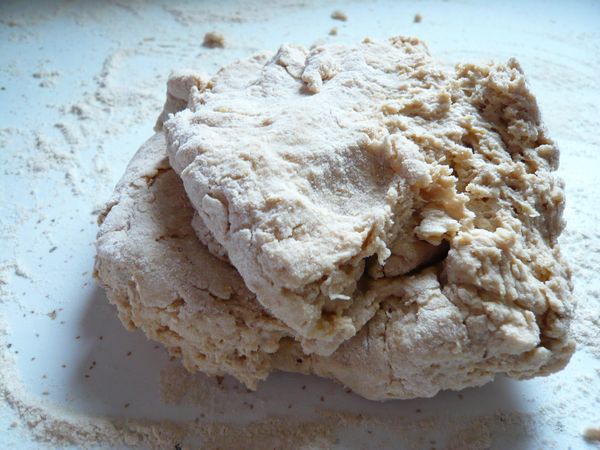
Sprinkle a clean work surface with a bit of flour and turn out the dough, kneading for no more than 12 times. Pat dough into a round shape, flattening it with your palms to 1/2 inch thick and cut into 8 wedges. This fits perfectly in a pie plate, or whatever it doesn’t really change shape as it cooks. Bake for 10-15 minutes or until golden. Cool on a wire rack and eat warm or cold.
A Perfect Spring Menu (With PIE)
One of the hardest things for me is choosing a menu. I know that seems like a simple task, but how do you choose when there are recipes for Summer Panzanella and cookbooks hanging out in our kitchen full of recipes you’ve just been drooling over, like Roasted Corn and Black Bean Salsa and a refrigerator full of fresh Spring vegetables? Recently the Boyfriend and I hosted one of our old (I’ve known her since college – he’s known her since they were in preschool) friends for dinner. I’d been reading blog posts full of gorgeous spring produce and light meals of steamed asparagus with poached eggs, and the rhubarb – everyone has been gushing about rhubarb, those tart green and blush pink stalks bursting with flavor that just make the mouth water.
So the day before dinner I checked the Cooks Illustrated website (for inspiration not to avoid doing work) and there teasing my taste buds and solidifying my evening menu was a recipe for spring risotto that involved the asparagus I had been using in everything, fresh spring onions, and peas. Simple, classic and delicious – I was there.
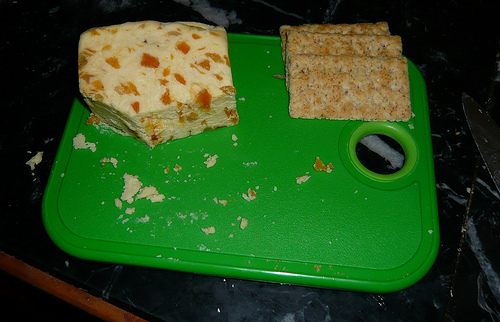
Now about dessert, what was I going to pair with Asparagus and risotto? I had no idea but I figured Russo’s (the local and AMAZING produce market) would let me know once I got there for the other vegetables. As I stepped into the hubbub that calls itself Russo’s I saw it – sitting on a shelf directly in front of the doors were strawberries and rhubarb, the light bulb above my head lit up and a plan was formed, strawberry-rhubarb tart! I immediately called my mom, an expert on all things comfort food and amazing, for a recipe. In her awesome way my mother managed to give me the recipe for strawberry-rhubarb tart and thoughts about an appetizer, a simple apricot stilton served with crackers.
And there it is a perfect Spring Meal, ok there were some kinks but it was delightful and goin with what was in season was the way to go. Everything had great texture and flavor, complements of its “in season-ness!”
Strawberry-Rhubarb Tart
Adapted from The New Settlement Cookbook… kind of. I think.
Crust
2/3 cup COLD butter
2 cups flour
1/4-1/3 cup ice water, or milk for a richer dough
dash salt
1/2 tsp Cinnamon
Add the flour and cinnamon to a medium sized bowl of the bowl of a food processor. Using two butter knives, a pastry blender, or a food processor (if you are lazy like me) cut the butter into the flour and cinnamon until it is the size of small peas. If you are using a food processor be careful and watch it like a hawk or else your butter chunks will be small and your crust will lack proper flake. Add your ice water slowly to the flour/butter mixture 1-2 Tablespoons at a time until it has turned into a loose ball (it should have come together but not be a sticky clump surrounded by flour). Cut this ball of dough in half. Wrap one dough ball in plastic wrap and refrigerate. Roll out the second ball of dough so it will fit in either a 9 inch pie pan or a 9 inch tart pan and line the pan.
Filling
1 1/2 cup Rhubarb, depending on the size of the chunks you may want more
1 cup sugar
2 Tbsp Cornstarch, plus 1/4 cup water
1 Tbsp butter
1 tsp Cinnamon
Dash Nutmeg
1 egg
2 Cup strawberries, chopped to slightly larger than the rhubarb
In a medium saucepan bring the rhubarb and sugar to a boil over med-low heat. Once the Rhubarb-sugar mixture has come to a consistent low boil put the cornstarch and water in a jar and shake to mix. Pour the cornstarch into the sugar-rhubarb mix and let simmer about 5 minutes (the mixture should clear up a bit and start to thicken). Remove the rhubarb sauce from the heat and stir in the strawberries. Allow the sauce to cool for about five minutes and slowly stir in the egg, be careful here – adding egg to the sauce while it is too hot will cause fried egg, if you are worried about this let the sauce cool completely before adding the egg. Pour the filling into the crust lined pan and add butter in dabs around the top of the pie and a sprinkle of cinnamon and nutmeg (these can also be mixed in with the sauce as well). Top with the second crust you reserved, I cut my top crust out with a pretty little leaf cookie cutter (it wasn’t quite a big enough piece of dough). Brush the top of the pie with a milk or egg wash and sprinkle it with cinnamon sugar.
Bake for 20 mins at 400 degrees then reduce heat to 350 and bake for another fifteen minutes. If you are using a tart pan bake 15 mins at 400 and 15 at 350.
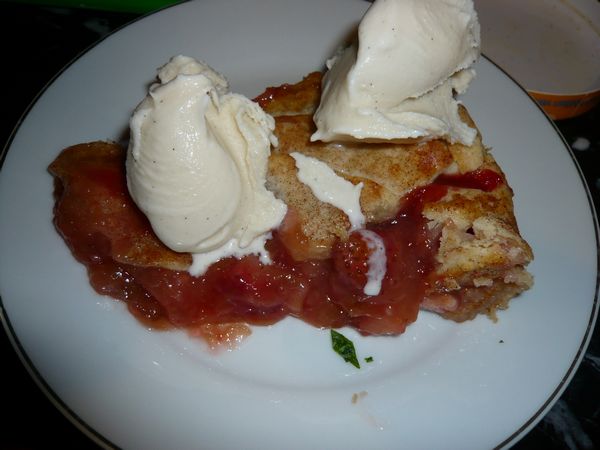
Serve this pie warm with a little bit of vanilla ice cream. The sauce is also delicious as a topping for ice cream or eating with a spoon, just hold off on the egg!
Asiago Cream Crackers
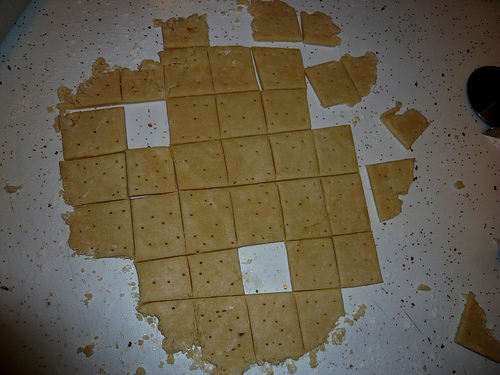
So I realize that I have been sitting on this recipe forever (like I made them on New Year’s Eve kind of forever) and also that I still haven’t tweaked it completely. That being said these little puffs of crispy crackers were just right with a dollop of Hot Pepper Jelly (Christmas gift courtesy of sister and her girlfriend) as a toast to the new year (or would have been had the boyfriend and I stayed awake). There’s something indulgent in having a cracker made with butter, asiago, and cream as the main ingredients, topping the whole thing with smoked sea-salt well that borders on the obscene.
So with crackers made and veggies in sticks arranged on a plate we ate a meal of appetizers, followed up by perfect miniature cannoli from Modern Pastry in the North End. Turned on The Spirit and promptly fell asleep. As an adventure in seeing the ball drop it was a fail, but as an evening spent together indulging in homemade and milk-based delights in was heaven.
Asiago Cream Crackers
Adapted (eversoslightly) from SmittenKitchen
Note: I made these with just asiago but a little bit of finely chopped rosemary (or whatever you like with your asiago) would be wonderful in them, I’m sure of it. I’m thinking that next time they will have sun-dried tomatoes reconstituted in a little olive oil and chopped into fine slivers, I’m on the end of thinking that would be “practically perfect in every way.”
1 cup All purpose flour, more for flouring and rolling as needed
½ tsp salt
½ cup finely grated hard Italian cheese (I used asiago, SK used parmesan and thinks romano would work well too)
2 Tbs of herbs/sun-dried tomatoes (optional)
4 Tbs butter, cold (salted or un- it doesn’t really matter, if your butter is salted cut your salt in half)
¼ cup cream or half and half
Smoked sea-salt, fresh pepper, sesame seeds, rosemary – whatever you want for sprinkling
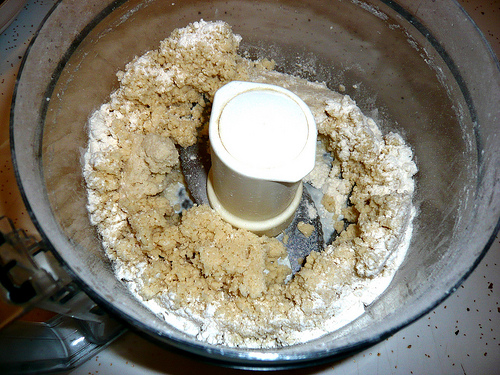
Heat the oven to 400 degrees and line a baking sheet with parchment paper. Add flour, salt, cheese, butter, and herbs/sun-dried tomatoes (if you are using them) to the bowl of your food processed. Pulse the food processor until the flour and butter are combined (about the size of peas). Add your cream or half and half and let the machine run until a dough forms (this should be quick so don’t wander away to catch the game or read a book). If you are not getting a dough add liquid one tsp at a time until it does, you want the dough to be one mass but not sticky.
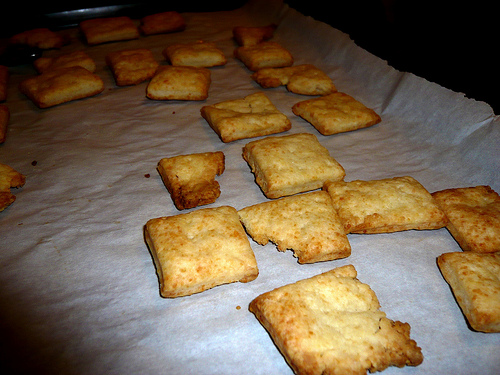
Roll out the dough to ¼ inch thick or thinner on a lightly floured surface. You can either cut the crackers now, like I did or just leave score marks down where you would like them to break apart, either way these crackers should be crispy and light when they come out of the oven. I made mine as little squares this time I think I’ll try to make straws when I make them again. Regardless poke them all over with a fork (so they look like crackers), brush them with milk/cream/half and half and sprinkle whatever toppings you have chosen on top.
Bake until they are moderately golden brown in the middle of the oven, about 12 minutes. Cool on a rack and serve warm or cold with hot pepper jelly or any spread (they were pretty delicious plain as well).
I don’t know how long these crackers will last but boyfriend and I ate a whole batch of them in one sitting over a game of Monopoly…

